
Ever wonder if your aquarium could keep itself balanced? Imagine a clever system that refills your tank as water slowly disappears, like a good friend always ready to help out.
In this guide, we'll walk you through setting up your very own auto top-off system. First, find the perfect spot for your sensor, it’s like choosing the ideal place under a stream of sunlit water. Next, make sure your new system gives a smooth flow of water, keeping everything steady in your aquatic world.
Stick with these simple steps and watch how your setup saves you time while keeping your tank as calm and balanced as a peaceful pond.
Step-by-Step Aquarium Auto Top-Off System Installation Guide
An auto top-off system is like a trusted friend that keeps your saltwater aquarium balanced by replacing water lost to evaporation with fresh RO/DI water, water that’s been gently purified to remove impurities. It comes in two main versions. One uses a classic float valve with gravity, like a little buoy keeping its watch. The other is a modern, electronic setup with sensors and a pump that adjust automatically based on real, precise readings.
-
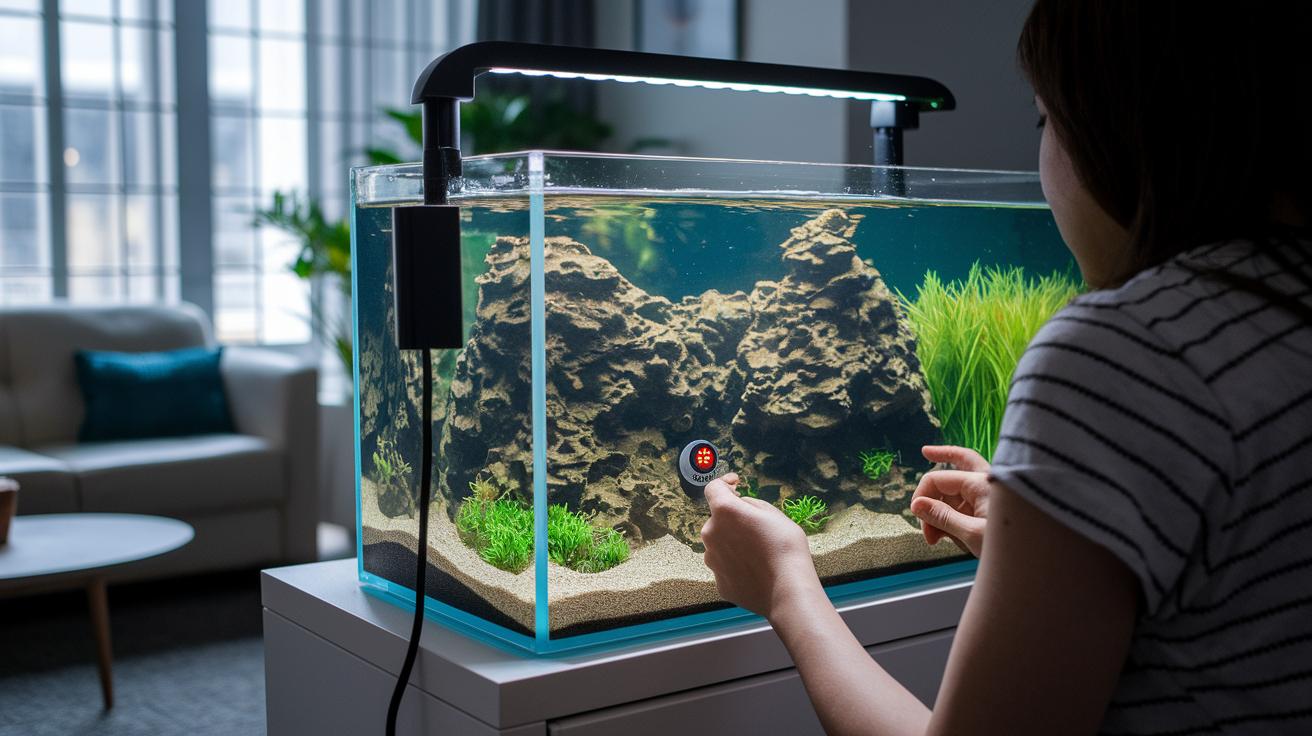
Start by placing your sensor in the sump’s pump chamber or directly in your display tank if you don’t have a sump. Think of it as positioning a lifeguard right where the water moves most, always ready to spot any changes.
-
Next, set your reservoir so it holds no more than 10 gallons. This small size helps prevent floods while still giving you enough water during times when evaporation picks up.
-
Then, attach the flexible tubing connecting the reservoir to your aquarium. Make sure the fill line is above the water level in the reservoir. This simple trick stops water from flowing back, just like keeping your boat from drifting backwards.
-
After that, prime the tubing by removing any air bubbles. A smooth, steady flow works best, much like a calm stream that makes a soothing sound.
-
Follow the manufacturer’s guide to wire the controller. Gather your cables neatly and hook up the pump or valve as shown in the diagram. This step makes sure everything works together like a well-coordinated school of fish.
-
Power the controller by plugging it into a GFCI-protected outlet. Safety matters, and this ensures your system is both reliable and secure.
-
Now, do an initial test fill to see if the water stops at your marked water level. It’s like testing the tide to make sure it meets the shore just right.
-
Finally, adjust the controller settings for sensor sensitivity and fill duration. Mark your desired water level on your display tank or sump, much like mapping out your favorite spot along a quiet riverbank.
Once these steps are done, take a careful test run. Watch the water level and listen for any unusual sounds around the fittings. Make sure the system stops at the correct level and keeps your aquarium’s salinity steady, so your aquatic friends enjoy their perfect underwater home.
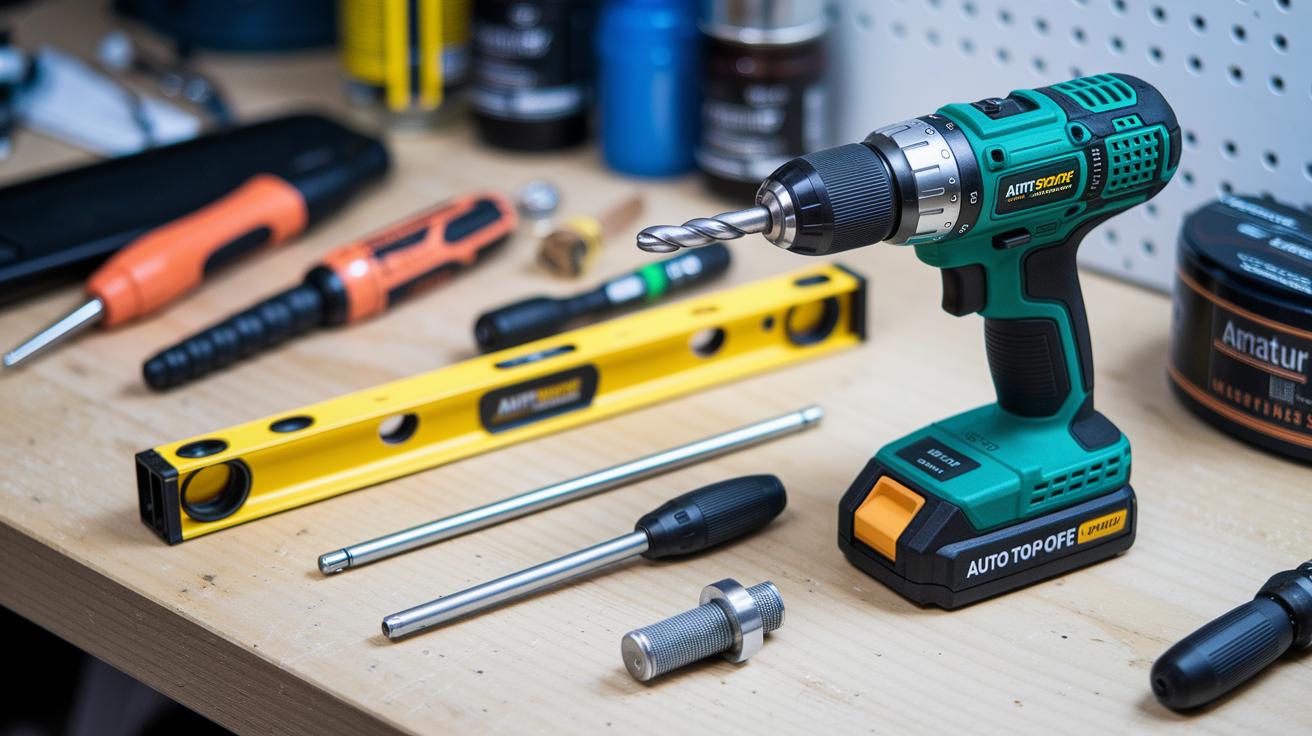
Required Tools and Materials for Aquarium Auto Top-Off System Installation
Before you get started with your auto top-off system, take a moment to collect everything you'll need. Gathering these tools and supplies first means your work will go smoothly, and you can avoid problems like leaks or water flowing the wrong way. It’s a bit like prepping your tank for a friendly gathering – you want everything just right.
First, grab a drill and a level. They help you make perfect spots for your sensors and tubing so nothing wobbles around. Next comes your ATO kit. This little bundle includes a sensor, a controller, and either a pump or a gravity valve. Basically, it’s the heart of your system that keeps your water level steady as evaporation works its magic.
You'll also need a supply of RO/DI water. This is purified water that keeps your aquarium’s salt and water mix just right, without any unwelcome extras. Then, choose some flexible tubing made from PVC or silicone. The tube connects your water source (usually a small reservoir) to your aquarium and lets you adjust things easily while setting up.
Speaking of reservoirs, a smaller one, 10 gallons or less, is best. It limits any flood worries while holding enough water for quick top-offs. To keep everything neat, use mounting brackets or clips to secure sensors and tubing. Finally, cable ties help keep wires tidy, and an inline check valve stops any water from sneaking back in the wrong direction.
All these pieces come together to make your auto top-off system work like a well-orchestrated underwater dance. Enjoy the process, and think of it as adding another beautiful detail to your aquatic world!
Sensor Placement and Mounting for Optimal Aquarium Auto Top-Off Performance
Getting your sensor into the right spot is the secret to a smooth auto top-off. For the best results, put your electronic sensor in the sump’s pump chamber or, if you don’t have a sump, directly in your display tank. Make sure it's positioned above your desired water level and keep it far from any salt buildup and strong currents. For gravity-fed setups, remember that float valves should stay inside the reservoir. Secure your sensor with adjustable brackets or cable ties to stop it from moving around as the water level changes. A quick tip: always ensure nothing blocks its view of the water line, just like checking a window before you open it.
Sump-Based Sensor Mounting
In the sump pump chamber, choose a spot where the water level goes up and down the most. Keep it away from the splashes caused by water flowing in and out so that turbulence doesn’t confuse it. Use a mounting bracket to keep your sensor level, and adjust its height for the clearest water reading. For example, placing it near the edge of your pump’s stream can help avoid false readings from splashes.
Display-Tank Sensor Installation
If your tank doesn’t have a sump, clip-on holders are a perfect choice for installing the sensor right in your display aquarium. Set the sensor high enough above the water line to prevent salt creep from interfering. Choose a spot where there’s only gentle water movement, so the sensor gets a clear view of your marked water line, think of it like placing the sensor on a stable shelf. And don’t forget to check that it consistently reads the water level correctly; stable readings mean a balanced and calm home for all your aquatic friends.
Wiring, Tubing, and Calibration of Your Aquarium Auto Top-Off System
We’ve already covered the basics like routing tubing above the reservoir, securing it with cable ties, and plugging the controller into a GFCI-protected outlet. Now, let’s dive a little deeper and add more detail to the calibration process.
If you need a refresher, check out the earlier sensor adjustment steps for wiring help. Here’s a simple five-step guide to fine-tune your setup:
- Measure and mark the spot for the upper sensor to set your maximum water level.
- Adjust the lower sensor so it keeps your salt levels steady and the system running smoothly.
- Remember to turn off the auto top-off during maintenance to avoid any unexpected changes.
- Make sure all tubing connections are secure and remain safely above the reservoir’s water line.
- Run a test cycle to confirm the controller stops the top-off at the marked levels and that the sensor readings are spot on.
Configuring and Testing Your Aquarium Auto Top-Off Controller
This checklist gives you a clear rundown of the main settings discussed in the installation and calibration parts. Think of it as your handy guide to tweak how the controller works during its test runs, much like adjusting the flow in your own little underwater world.
- Check how sensitive your sensor is and fine-tune its threshold based on the water level you actually see. For example, when the water meets the mark, the sensor should jump into action and start the refill without missing a beat.
- Set up a timer to delay the refill action so that the system doesn't start and stop too quickly. This helps everything run as smoothly as a calm pond.
- Turn on the dry-run protection. In simple terms, this feature stops the pump if it doesn’t detect any water flow, keeping your setup safe from accidental mishaps.
- Do an initial test fill to be sure that the system stops adding water exactly when it should, just like a perfect tide coming in and out.
- Look over your fittings and tubes for any leaks and fix them if you spot any issues, ensuring your aquarium stays tight and leak-free.
- After running your test cycles, check the water’s salt level and adjust the controller if needed to keep your tank’s environment just right.
Troubleshooting Common Aquarium Auto Top-Off Installation Issues
Setting up your auto top-off system can sometimes feel like navigating a shifting current. At times, the system might not add enough water, which over time can cause your tank to build up too much salt. Other times, it adds too much, leaving you worried about an overflow or even a little flood. One issue you might encounter is back-siphoning, which happens when water flows the wrong way because the fill line isn’t placed above the reservoir’s water level. And if your sensor isn’t aligned correctly, kind of like a picture frame that's a bit off, it can give you inaccurate readings. Plus, a clogged tubing can stop the water from flowing freely. With reservoirs over 10 gallons, these risks can be even easier to miss.
I once tweaked my sensor only to find that the water level was still off. It turned out the sensor had shifted just a bit from where it started. Even small changes can lead to unexpected problems, so it’s always good to keep an eye on things.
| Problem | Solution |
|---|---|
| Sensor drift | Recalibrate sensor height |
| Tubing clog | Flush line thoroughly to remove debris |
| Float valve leak | Replace gasket for a tight seal |
| Power loss | Add a backup UPS or battery |
| Overfill | Install secondary float switch |
Regular checks and small tweaks can keep your system flowing smoothly, much like maintaining the perfect balance in a serene underwater world.
Safety and Maintenance Tips for Long-Term Auto Top-Off Reliability
Your auto top-off system is like the steady current that keeps your aquarium calm and safe for your fish. Keeping it in good shape means your marine pals can enjoy a cozy, worry-free home. It’s a good idea to turn off the ATO during water changes so you avoid any surprise refills that might cause problems. Marking the water line on your reservoir acts like a little guide, reminding you to keep the levels just right.
Sticking to fresh RO/DI water without any additives helps keep your tank’s salt balance steady. Regular cleaning is like clearing out little bits of debris, it stops salt deposits from building up over time. And by checking your tubing, fittings, and sensors now and then, you can catch any wear or tiny leaks before they turn into big issues. Adding a backup float switch or an extra sensor gives you that extra peace of mind, ensuring everything runs smoothly.
- Turn off the ATO system during water changes.
- Mark the reservoir’s water line for constant, balanced levels.
- Use only fresh RO/DI water without additives.
- Clean the reservoir monthly to remove salt deposits.
- Check tubing, fittings, and sensors regularly for signs of wear.
- Install a backup float switch or dual-sensor system for added safety.
Final Words
In the action, the guide walks you through every step of installing your system, from sensor placement and proper wiring to accurate calibration and testing. It reminds you to check your tools and materials while keeping your tank safe and balanced. You learned easy troubleshooting tips and routine maintenance practices that help keep your aquatic habitat healthy and appealing. This clear guide shows how to install an aquarium auto top-off system so you can enjoy a worry-free underwater setup and a thriving aquatic world.
FAQ
How to install an aquarium auto top off system youtube
The YouTube guide for installing an aquarium auto top off system walks you through sensor mounting, tubing setup, and controller wiring in clear, visual steps that mimic a hands-on installation experience.
How to install an aquarium auto top off system diagram
The diagram for installing an aquarium auto top off system illustrates tubing routes, sensor placement, and wiring connections, making the process easier to understand with step-by-step visual cues.
What is an Auto Top Off Aquarium system?
An auto top off aquarium system automatically refills your tank with fresh water when evaporation lowers the level, keeping water and salinity stable without daily manual intervention.
What does the Fzone Auto Top Off manual explain?
The Fzone Auto Top Off manual explains detailed setup, sensor calibration, and troubleshooting steps, guiding you through every stage to achieve a reliable and efficient auto refill system.
What is an Auto Top off Reservoir?
An auto top off reservoir holds a small amount of water, typically under 10 gallons, to safely deliver water to your aquarium while reducing the risk of back-siphon and flooding.
What features does the Tunze Auto Top Off system offer?
The Tunze auto top off system offers advanced sensors and reliable performance, with straightforward installation instructions, making it a trusted choice for keeping your water level steady.
Which is the best auto top off system?
The best auto top off system provides steady water levels, effective sensor calibration, and safety features to protect your tank, ensuring hassle-free maintenance and consistent performance.
How does an Auto Top Off Pump function?
The auto top off pump works by activating when sensors detect low water levels, pushing water through tubing into the aquarium to maintain the correct water level and salinity.
Where should an ATO sensor be placed?
The placement of an ATO sensor is best in the sump’s pump chamber or attached to the display tank with a clip, ensuring accurate water level readings and reliable system performance.
How does an auto top-off system work?
An auto top-off system uses sensors to monitor water levels and triggers a pump or valve to refill the tank automatically, keeping the water level and salinity steady for a balanced aquatic environment.
Where to put auto top off in sump?
In a sump, the auto top off setup should be placed in the pump chamber where water levels accurately reflect the overall tank, avoiding turbulence and ensuring precise sensor readings.
How to top off water in a fish tank?
Topping off water in a fish tank involves using either an auto top off system or manually refilling with RO/DI water, helping maintain consistent water levels and proper salinity for your aquatic pets.