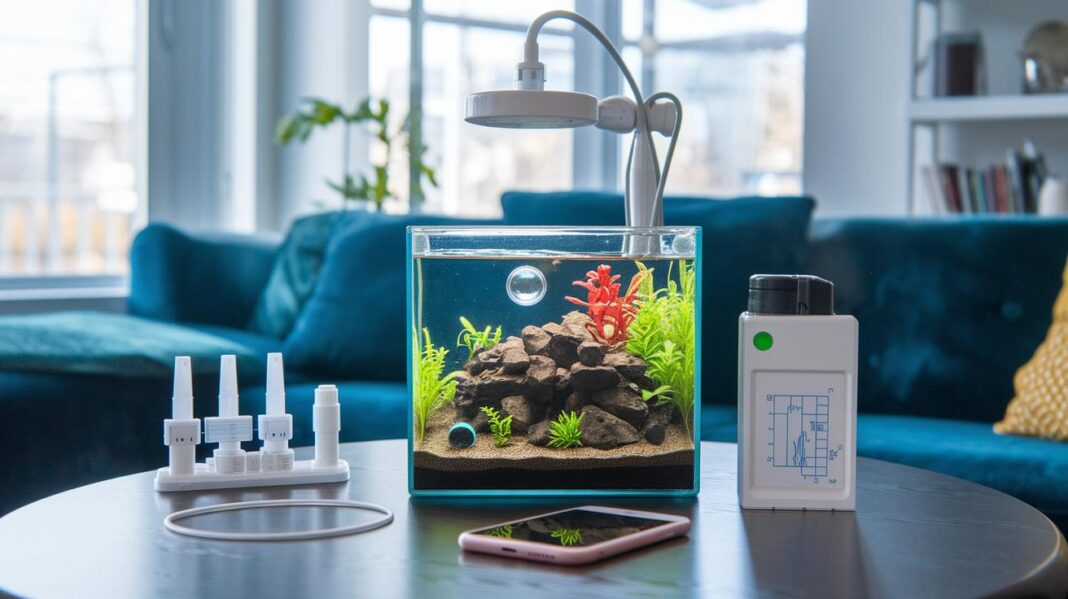

Have you ever thought about keeping an eye on your aquarium without standing by the tank all day? Imagine a little system that gently lets you know when the water temperature, pH, or oxygen levels change in real time.
Not too long ago, small issues in the tank often went unnoticed until they turned into bigger problems. Now, with a simple Arduino-based controller, you can catch those early hints. It’s like having a trusted underwater friend helping you keep everything just right for your fish.
Curious to learn how to set up your own little aquatic guardian?
Automated Aquarium Monitoring System: Step-by-Step Setup
At the heart of this system is a tiny, self-operating control box built on an Arduino Nano or UNO. It keeps an eye on your tank’s pH, temperature, water level, and dissolved oxygen while also managing heaters, lights, and pumps. Think of it as a little underwater guardian, quietly watching over your tank and alerting you the moment something feels off. Back in the day, many tank owners missed early signs of pH changes until bigger problems surfaced, but this setup helps you catch those clues early.
Start by gathering all the must-have parts. You’ll need a solid control board, a pH sensor board with a BNC connector, a DS18B20 temperature sensor that comes with a jack socket, relay modules to switch things on and off, and extra components like an RTC module and a display. Then, you carefully prepare your enclosure, cut neat holes for the LCD or TFT screen, fit the pH sensor connector, and make space for the temperature sensor jack so everything lines up just right.
Next, the wiring brings it all together. Connect the sensor outputs to the Arduino’s analog and digital inputs using color-coded wires and screw terminals for clarity. Secure each sensor using proper adhesive or mounting hardware so they stay in place. Then comes the programming part, write code with clear setup() and loop() functions that continuously gather sensor data, fine-tune measurements using standard buffer solutions or calibrated temperature baths, and handle minor errors. Test each section one-by-one and plan regular check-ups to keep things humming along smoothly.
When everything is in place, your system will give you real-time updates on water quality, send automated alerts if conditions stray from normal, and take charge of your tank’s environment. With the control unit neatly mounted on a DIN rail, installation is a breeze, and you can expand the system as needed. Imagine getting a quick alert that your tank’s oxygen levels have dropped, so you can step in before any real trouble starts, this is the power of a well-tuned automated monitoring system.
Automated Aquarium Monitoring System Hardware Components
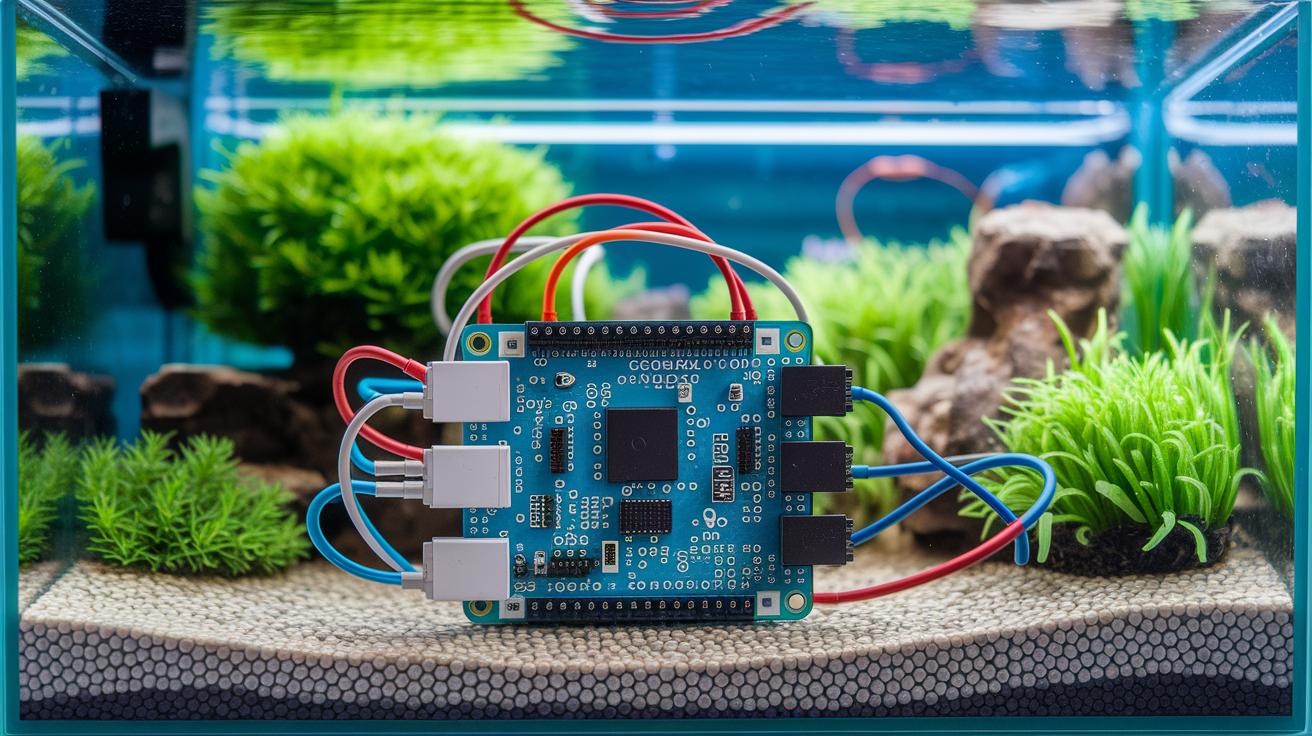
Every solid piece of hardware in your system is like a carefully chosen shell on the beach, helping your automated fish tank work its magic. When you pick quality parts, you’re making sure your smart fish tank sensors do exactly what they’re meant to do, keeping your underwater world balanced with accurate readings.
- Arduino Nano or UNO control board
- pH sensor electrode + BNC connector
- DS18B20 one-wire temperature sensor + jack socket
- Relay board (4-channel or 8-channel)
- TFT or LCD display module
- RF433 MHz wireless module
- RTC (real-time clock) module
- Prototype PCB with copper strips
- Resistors (1 kΩ, 1 MΩ) and jumper wires
- Power supply (5 V regulated)
When setting up your smart fish tank sensors, be sure to choose waterproof models that stand up to the wet conditions of an aquarium. It’s like picking the right net to catch shimmering fish, you need something that works in water. Also, protect your modules from unwanted electrical noise by using EMI-protected enclosures or adding simple filters. Secure mounting keeps your wiring neat and helps prevent accidental disconnections, so your DIY project runs reliably over time. Taking these extra steps means you can relax and enjoy watching your aquatic paradise thrive.
Automated Aquarium Monitoring System Sensor Integration
Place your sensors like a friendly school of fish gliding along in harmony. Mount the pH sensor board in its pre-cut BNC hole with waterproof glue, and connect its analog output directly to Arduino A0. This gentle setup keeps the sensor away from any unwanted electronic noise.
Attach the DS18B20 temperature sensor through its jack socket, making sure the one-wire bus calmly reaches a specific digital pin without any sharp twists. Think of it like placing a thermometer where a breeze won’t disturb its reading, so you always get true tank conditions.
When wiring the pieces together, use color-coded wires to clearly mark each connection. Secure them with a screw-terminal shield attached to the control board chassis. This method not only makes it easier to spot any issues but also stops wires from coming loose accidentally. Gently bundle the wires with zip ties for extra support, just like keeping a school of fish together.
Each sensor, relay terminal, and connection is handled with care, ensuring your digital water quality log stays accurate and reliable, like a calm stream flowing steadily through your aquarium.
Automated Aquarium Monitoring System Wiring and Enclosure Assembly
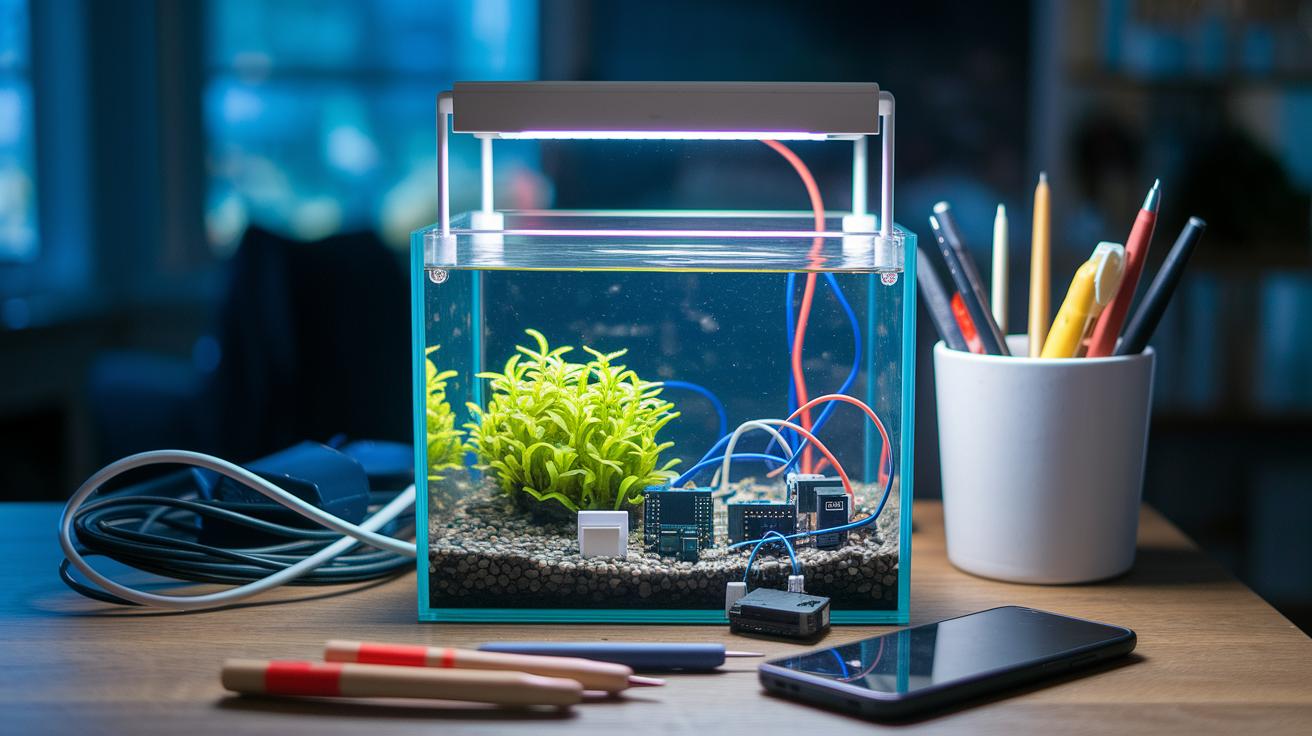
Before you start any changes, be sure to cut the power. Unplugging everything helps keep you safe from shocks or surprises, just like making sure the water in your tank is calm before adding new fish.
Next, get your enclosure ready by marking where you need to drill. Start by cutting small openings for the USB port, relay board, and display. Make tiny pilot holes first and then slowly make them bigger so everything lines up perfectly, much like adjusting a window to catch that perfect sunlight. Smooth out the edges with some sanding until they fit just right for your Arduino Nano and its connectors, including the BNC port. Then, secure the relay board and the Nano in place with lightweight spacers, leaving enough room for quick access to the USB and sensor connections. This careful method makes the whole setup clear and easy to work with.
Once you have the modules in place, run your wiring gently along the inside of the enclosure. Arrange the cables so they follow the walls neatly and avoid messy crossings. Using color-coded wires and zip-ties at handy spots is a great idea, think of it as guiding a school of fish swimming in perfect formation. Finally, set up a ground bussing system to keep the connections secure and interference-free, ensuring your system works as smoothly as a serene underwater current.
Automated Aquarium Monitoring System Software and Dashboard Configuration
First, install the Arduino IDE or PlatformIO and load the key libraries such as OneWire, DallasTemperature, Adafruit_GFX/ILI9341 for TFT displays, and the built-in EEPROM library for logging. Think of this step like preparing your tank's foundation so that everything runs smoothly. Using the latest IDE versions helps keep everything running with the gentle flow of water, making sure the hardware and software stay in sync.
Next, set up your Wi-Fi or Ethernet connection to check on your water quality from anywhere. Just add your network name and password in the code for Wi-Fi, or if you prefer Ethernet, define your MAC address and IP settings. This setup lets your control board send live sensor data to a remote server, much like a current that carries fresh water to all parts of your tank.
Finally, create a digital dashboard for your aquarium that works on both mobile and desktop devices. Design an easy-to-use interface with real-time charts and simple status alerts. Write code that updates sensor readings periodically and adds buttons or sliders for quick calibration. Testing these features is like making sure each fish in your tank is happy and healthy, giving you constant, clear insights into your tank’s water quality.
Automated Aquarium Monitoring System Programming and Calibration

Begin by setting up your code with a clear, friendly structure. Think of it much like preparing your favorite aquarium, you start with the basic framework and then add the essential details later. You usually begin with functions like setup(), loop(), and any helper functions. For example, you might organize your file like this:
void setup() {
  // Initialize sensors and set up serial communication
  Serial.begin(9600);
  initpHSensor();
  initTempSensor();
}

void loop() {
  readSensors();
  delay(1000); // wait a second before taking the next reading
}
Next, sprinkle in detailed calibration routines that explain what’s happening, and use EEPROM storage to keep those calibration settings safe even after a reset. It’s a bit like giving your tank a careful check-up. You can add functions to calibrate your pH sensor using pH 4, pH 7, and pH 10 buffer solutions. Don’t forget to fine-tune your temperature sensor too, using both ice-water (0 °C) and boiling water tests so your sensor really knows what’s up. Comments like these can remind you of your steps:
// Calibrate pH sensor: use pH 7 buffer for a baseline measurement
// Save calibration values in EEPROM to keep them steady across restarts
Once your code is in place, test your sensor’s reliability by running steady observation loops. Adjust the smoothing constants to reduce any unwanted noise or drift, much like keeping a gentle current in your aquarium for your fish’s comfort. If a sensor disconnects, add routines to handle errors so you don’t miss a beat. Continue fine-tuning those smoothing filters until your sensor signals are as stable as the calm ripples on a quiet pond.
Finally, update and refine your Arduino-based sensor system as you learn more about your aquatic setup. It’s all part of keeping your tank as vibrant and healthy as a colorful coral reef!
Automated Aquarium Monitoring System Testing and Troubleshooting
Begin by testing each module one at a time. This way, you can easily spot any sensor that’s acting up or a loose connection before it makes a bigger splash in your setup.
| Problem | What’s Causing It | How to Fix It |
|---|---|---|
| Sensor Drift | Changes in calibration or temperature swings | Run a recalibration using standard buffer solutions |
| Display Freeze | Software hiccup or a loose connection | Restart the microcontroller and double-check your wiring |
| Relay Chatter | Unsteady voltage or insecure wiring | Secure your connections and add some simple filtering parts |
| Wi-Fi Dropouts | Network interference or a weak signal | Review network settings and reposition the module if needed |
Keep up the routine by checking logs and sensor data on a regular basis. Look for any odd patterns, like analog readings that stubbornly stick at rail voltages or fleeting interface problems. Taking the time to test each sensor and how they talk to each other can really help keep your tank conditions smooth. I usually set aside a little time for log reviews and scheduled maintenance, it’s like checking on your favorite fish to make sure they’re happy and healthy. For more detailed tips on error symptoms and easy fixes, check out the usual troubleshooting tips found in common aquarium guides.
Automated Aquarium Monitoring System Maintenance and Expansion
Keeping your system humming is a lot like taking care of your favorite aquatic pals. Every few months, you should recalibrate your sensors, update the firmware, and check those filters for any debris, basically, a bit like giving your tank a little cleaning. By setting aside time for these simple steps, you help keep everything running smoothly and avoid any surprises. You might want to refer to our maintenance schedules (https://sweetfysh.com?p=1059) to keep your aquatic setup happy and healthy.
Thinking about upgrades? Adding some smart tech can make your tank care even easier. Imagine installing lighting timers that mimic the natural flow of day and night, or using an automated dosing system that handles nutrient and chemical additions. You could also look into controllers for automated feeding or motion sensors for extra careful care of your underwater friends. And if you manage more than one tank, multi-tank monitoring is a practical choice. Future features like mobile push notifications and cloud-based analytics put advanced water tracking right at your fingertips, making aquarium management as effortless as watching gentle ripples on a smooth rock.
Final Words
In the action, we walked through the build and fine-tuning of a smart, self-operating aquarium system. We touched on assembling quality components, sensor integration, secure wiring, and crafting a clear software dashboard.
We also shared tips on calibration, testing, and planning future upgrades, making sure every step keeps your tank safe and lively. Now you have a practical guide on how to set up an automated aquarium monitoring system that helps create a balanced, thriving underwater habitat.
FAQ
How does an Arduino help control an aquarium?
The Arduino appliance monitors water quality by reading sensors and controlling devices like heaters and lights, keeping your aquarium safe and balanced.
How does a DIY aquarium monitoring system work?
A DIY aquarium monitoring system uses a microcontroller to read parameters such as pH and temperature, then activates connected devices to maintain a stable and healthy aquatic environment.
How do I set up an auto top off system for my sump?
The auto top off system keeps your sump’s water level steady by employing a pump and sensors. Following a step-by-step guide or a product manual like Fzone’s helps you wire and calibrate the setup correctly.
What does a Raspberry Pi aquarium controller do?
The Raspberry Pi controller runs similar tasks to an Arduino but offers extra processing for features like remote dashboards and advanced data logging for your fish tank.
What is the automatic water tester for aquariums?
The automatic water tester continuously checks conditions such as pH and temperature, alerting you to changes so you can keep your aquatic habitat in good shape.
How do you set up an aquarium wave maker?
The aquarium wave maker creates gentle water movement by connecting to your tank, adjusting flow settings, and positioning safely, which helps mimic natural aquatic currents.
What app lets you design fish tanks?
The app enables you to plan your fish tank layout by selecting decor, lighting, and placements in a virtual space, offering a clear preview before you make physical changes.