
Ever stop to think about what secrets your tap water might be hiding? Checking it at home is a smart, simple way to keep your family healthy. With just a few everyday tools, you can easily see, taste, and even smell for any surprises. It’s like giving your water a quick peek, so you know it’s safe and sound.
In this guide, we walk you through each step as if you were embarking on a calm swim in clear, gentle waters. We lay out the process in easy, friendly language, so you can stay in control and enjoy the peace of mind that comes with knowing your water is just right.
Comprehensive DIY Process to Test Water Quality at Home
Testing your tap water at home can feel as refreshing as a dip in a clear pond. By checking the water’s taste, smell, and look, you can spot any surprises before they become a problem for your home’s plumbing or your family’s health.
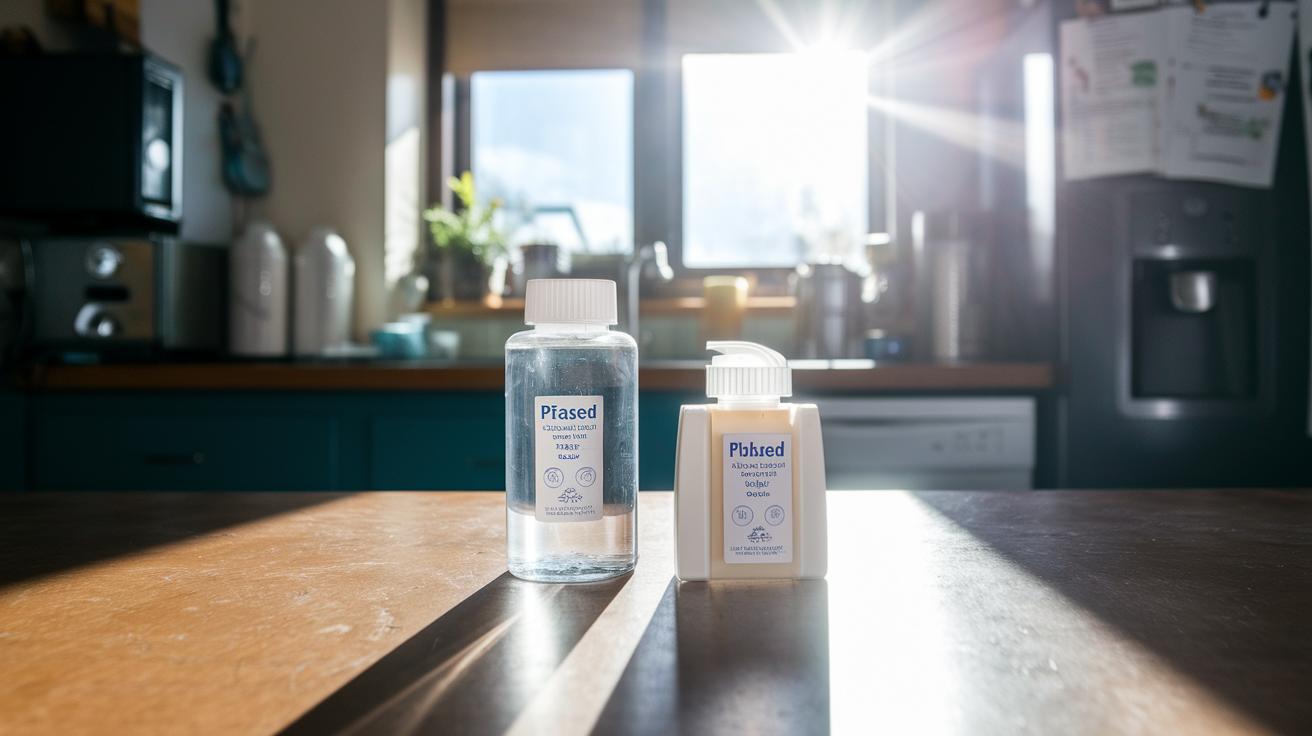
Doing this kind of water check yourself saves time and helps ease your mind. All you really need are a few everyday tools, like a clean container for your water sample, a handy magnifying glass, and some basic testing kits. Start by simply noting down how your water appears, tastes, and even smells, just to see if something seems off.
- Begin by collecting a water sample from your most-used tap.
- Look at the water’s color, taste, and smell; for instance, if you sense a bit of a metallic flavor or a strange odor, take note.
- Use simple test strips or reagents to measure the hardness of the water. When the strip changes color, it could mean there’s a lot of calcium or magnesium in your water.
- Grab a magnifying glass and check if there are tiny particles or bits floating around.
- To check for minerals and other dissolved solids, boil the sample, let it cool down, and see if any residue is left behind.
- Write down all your observations and keep track of any changes over time.
Remember to handle your water sample with care. Always use a clean container to avoid mixing different samples, and try to do this test once a month. By keeping tabs on your water, you’ll know when it might be time to reach out to a professional for a deeper check.
Home pH, Hardness & Chlorine Testing for Water Quality

pH Testing Method
First, grab a clear water sample in a clean container. Then, dip a pH strip or your digital sensor into the water for about 30 seconds. After that, compare the color change to the chart that came with your test kit. If the reading falls between 6.5 and 8.5, your water has a nice, balanced pH. It’s like watching a little magic show in your glass, ever notice how a hint of green can signal that everything is nearly perfect?
Hardness Testing Method
Next, let's check out water hardness. You’ll need a testing kit that measures calcium and magnesium. Dip the test strip into your water and wait about two minutes. Once the colors settle, count the little dots that appear. Soft water shows fewer than 60 mg/L, while water with more than 180 mg/L is on the hard side. Think of it like counting tiny sugar crystals in a spoonful of tea, only a few means it’s gentle, but a handful of dots means your water is a bit more robust.
Chlorine Level Testing
Now, let's measure chlorine. Use a free-chlorine reagent kit by adding two drops of the reagent to your water sample and mix well. Then, check the color in your test vial against the provided chart. Safe levels run between 0.2 and 4 mg/L, much like finding that perfect pinch of seasoning in your dish. Finally, jot down all your results and run these tests every month to keep an eye on your water quality over time.
Comparison of DIY Kits and Send-Away Lab Tests for Home Water Quality
Choosing between a DIY kit and a send-away lab test is a bit like deciding whether you want a quick glimpse or a deep dive into the story your water tells. A lab test like the Tap Score Advanced City Water Test gives you precise numbers and clear, easy explanations for each contaminant. It takes a few days to get your results back, but it’s like having an experienced expert gently check every corner of your water.
On the flip side, DIY tests such as the Safe Home Ultimate kit or the DIY Safe Home Lead Kit offer you instant feedback with simple color-changing strips. They are perfect for a fast check if something might be off. But because they depend on reading colors, sometimes a tiny difference can leave you wondering about the exact results.
| Kit Name | Contaminants Tested | Method | Turnaround | Relative Cost |
|---|---|---|---|---|
| Tap Score Advanced City Water Test | 10+ parameters | Lab | 5–7 days | High |
| WaterCheck CityCheck Deluxe | 50+ parameters | Lab | 5–7 days | Medium |
| Safe Home Ultimate | 12 parameters | DIY strips | Instant | Medium |
| DIY Safe Home Lead Kit | Lead only | Color strip | Instant | Low |
This side-by-side look helps you choose the test kit that best fits your needs, whether you prefer a quick overview or a detailed check-up of your water.
DIY Chemical Residue and Lead Testing for Water Quality at Home
Testing your water at home is a lot like checking that your favorite fish has a clean, safe home. Unwanted chemicals such as PFAS and other pollutants might be floating around even when everything looks clear, and they can cause problems over time. By doing a simple test at home, you get an early glimpse into what might be lurking beneath the surface.
Using the Tap Score PFAS mail-in kit is a smart way to spot those stubborn PFAS chemicals. With this kit, you collect a small water sample and send it off to a lab that knows its way around these tricky substances. It’s like getting a friendly expert to read the signals of your water instead of guessing at confusing color changes on DIY strips.
Similarly, the DIY Safe Home Lead in Drinking Water Test Kit is designed for a quick check on lead, the most common water concern in many homes. Just dip the test strip into your water, and you’ll see a color change that tells you if lead levels have crept beyond what’s safe. It’s almost like watching the water whisper its secrets to you.
Always make sure to use clean containers when you’re collecting your water sample, and follow the shipping guidelines carefully if you’re sending your sample to the lab. This extra care helps ensure your test is as accurate as a calm, well-maintained aquarium.
Interpreting At-Home Water Quality Test Results
When you're checking your water quality at home, whether with lab reports or those handy DIY test strips, think of it like reading the gentle ripples in your aquarium. Lab reports tell you if your water is balanced by comparing things like pH (aim for 6.5 to 8.5), water hardness (if it’s soft, it’s under 60 mg/L; if it’s hard, it’s over 180 mg/L), chlorine (should be between 0.2 and 4 mg/L), along with traces of lead and PFAS. DIY test strips work by changing color as they soak up the water, and you match these shades against a chart. A small tweak here can mean a big difference, so it’s important to log each reading, kind of like keeping track of the little bubbles in your tank, to help you monitor your home's water safety.
Mixing in extra tips can really make your DIY tests shine. Watch closely while matching those colors, because even a small color shift can hint that something’s not quite right. Also, make sure you’re collecting consistent samples, as a mix-up might lead to mistakes. If you find a color that doesn’t quite fit the chart, it might be a sign to run another test or even check with a lab again, much like giving your aquarium a little extra care when something seems off.
When to Transition from DIY to Professional Testing of Home Water Quality

When your DIY tests keep showing numbers that stray from what the EPA recommends, it might be time to get a professional check. If you notice that your pH, water hardness, or chlorine levels are off day after day, that's a sign that the simple at-home kits might be missing something. Recording these readings over several weeks can help you see a clear trend.
If you find things like lead or PFAS levels above the EPA limits, it’s a definite cue to call in the experts. Even when your DIY kit gives you a high reading, only a full lab test can truly confirm if the water is unsafe. Getting a complete analysis from professionals gives you the full picture and helps you decide what to do next. Keeping detailed records is always a smart move.
Finally, if anyone in your home starts feeling odd or you see signs of plumbing wear like scale buildup or corrosion, these could be hidden signals of water issues. When these unexpected problems pop up, professional testing is the best step to take. Always go with reputable labs and follow their sample collection guidelines to get results you can trust.
Final Words
In the action, we walked through a clear DIY approach to checking your aquarium’s water quality. We covered the basics, from sensory checks and measuring water hardness and pH to comparing at-home methods with lab tests. It’s all about creating a comfortable underwater habitat while keeping your water balanced and safe.
These practical tips show how to test water quality at home using simple, accessible steps. Enjoy putting these ideas into practice, and keep your aquatic world thriving every day.
FAQ
Q: How to test water quality at home without a kit?
A: Testing water quality at home without a kit involves using your senses. You can examine the color, odor, and taste, boil a sample to check dissolved solids, and record any anomalies to flag potential issues.
Q: Where can I get my water tested for free?
A: Many local health departments and water utilities offer free water testing events. Contact your local environmental health office for information on upcoming free water testing opportunities in your area.
Q: What is a water test kit?
A: A water test kit is a set of tools designed to measure key water quality parameters like pH, hardness, and chlorine. These kits often use color-changing strips or digital meters for easy readings.
Q: How do I access free EPA water testing?
A: Free EPA water testing may be available through state programs or community initiatives. It’s best to reach out to your local health or environmental agency for details on any free testing services offered in your area.
Q: Which is the best home water test kit?
A: The best home water test kit features clear, color-based results and simple instructions for checking pH, hardness, and chlorine. Look for kits with positive reviews for accuracy and ease of use.
Q: How to test water for bacteria at home?
A: Testing water for bacteria at home starts with a basic sensory check, but reliable detection usually requires lab confirmation. DIY kits for bacteria may not be fully accurate, so consider professional testing if issues are suspected.
Q: How can I test water quality for drinking?
A: Testing water quality for drinking involves basic at-home assessments like checking pH, hardness, and chlorine levels using a kit. Any unusual taste, smell, or appearance should prompt further professional analysis.
Q: How to check if water is drinkable at home?
A: Checking if water is drinkable at home means using both sensory observations and simple tests. Look for normal color, odor, and taste, and use a home kit to measure key parameters. Any irregularities suggest a need for detailed evaluation.