
Have you ever stopped to wonder about the water in your tank before and after a water change? It’s a bit like checking your aquarium’s heartbeat. A few easy tests can tell you if something's off, which might put your fish and plants at risk.
In this guide, we're sharing simple steps to help you measure important water details, like pH, ammonia, and nitrite. These tests work like a gentle ripple across your tank, alerting you when small changes start to show. Keeping an eye on these numbers early can make sure your underwater world stays safe and happy.
Water Quality Testing Protocol Before and After Water Changes
Testing your water before and after a water change is like checking the heartbeat of your aquarium. This simple process helps you spot any shifts in your tank’s chemistry that could stress your fish and plants. Regular tests let you catch little problems early, keeping your underwater world calm and balanced.
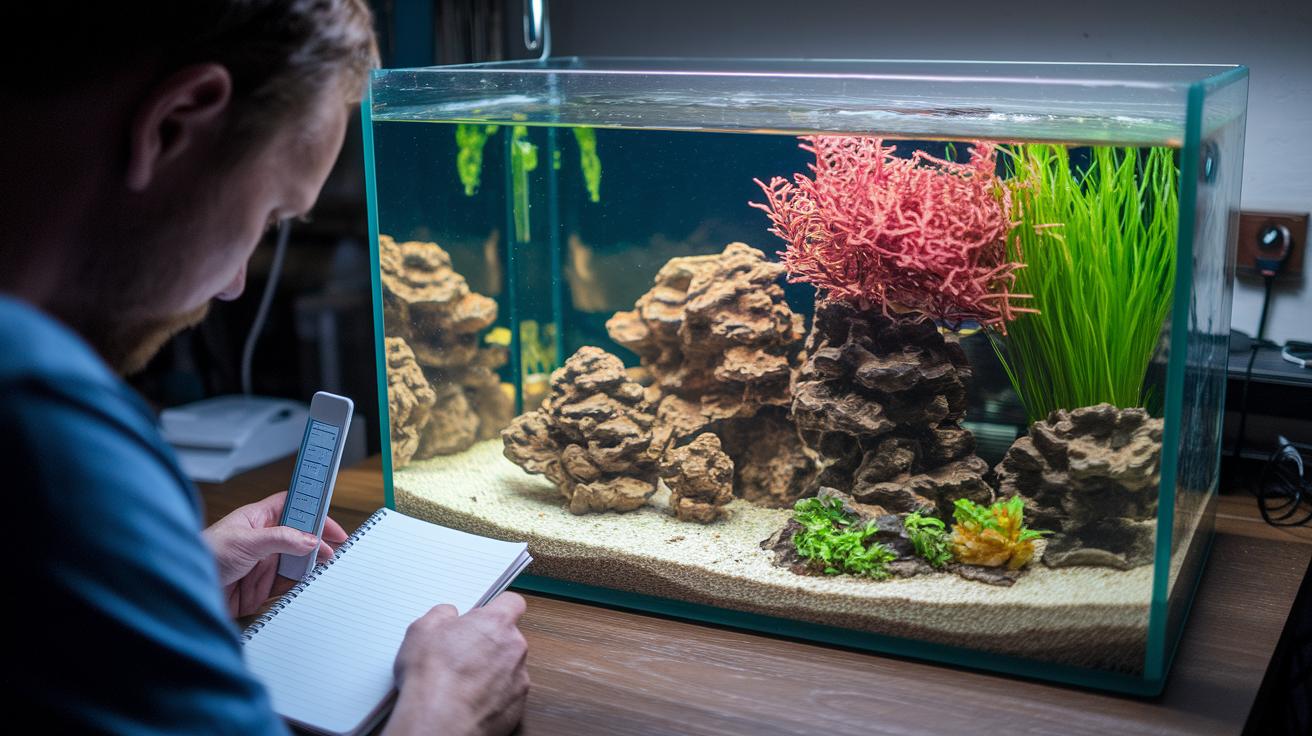
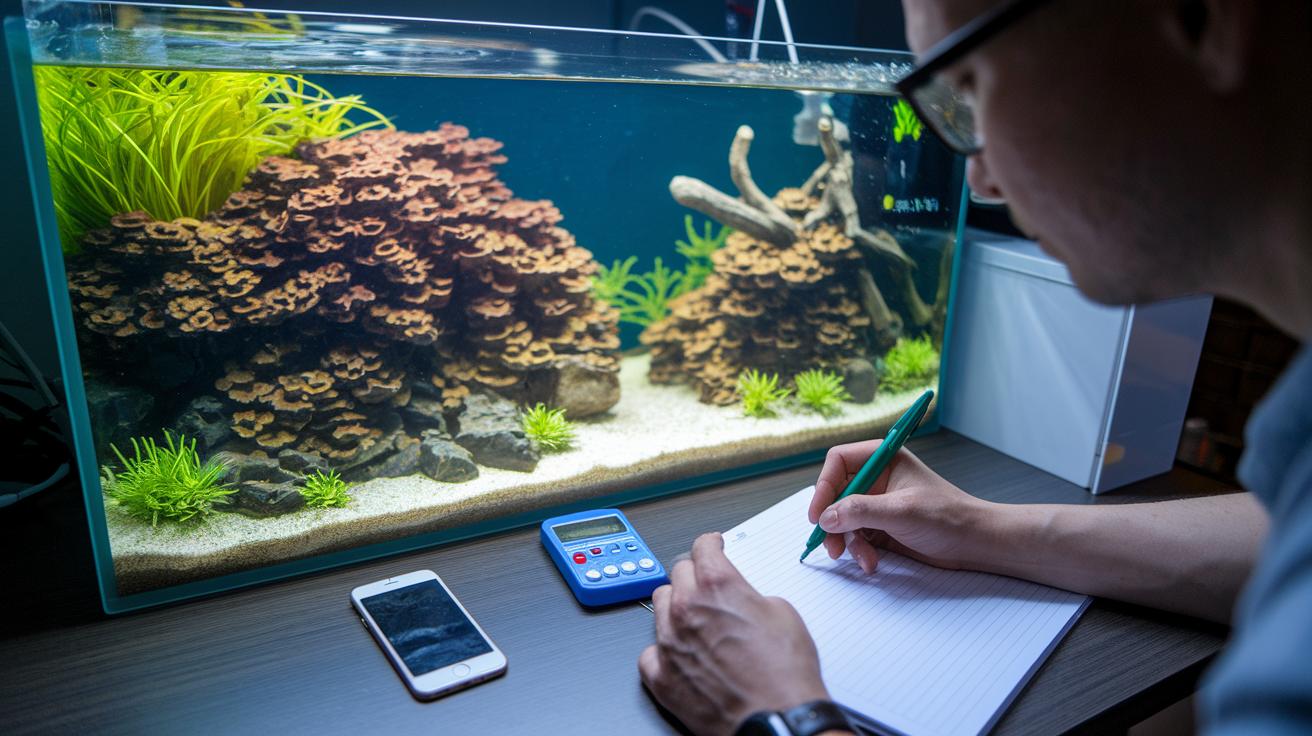
- First, set up your testing spot with everything you need, test strips or a full kit, a hydrometer if you're in a saltwater setup, and your logbook to track details.
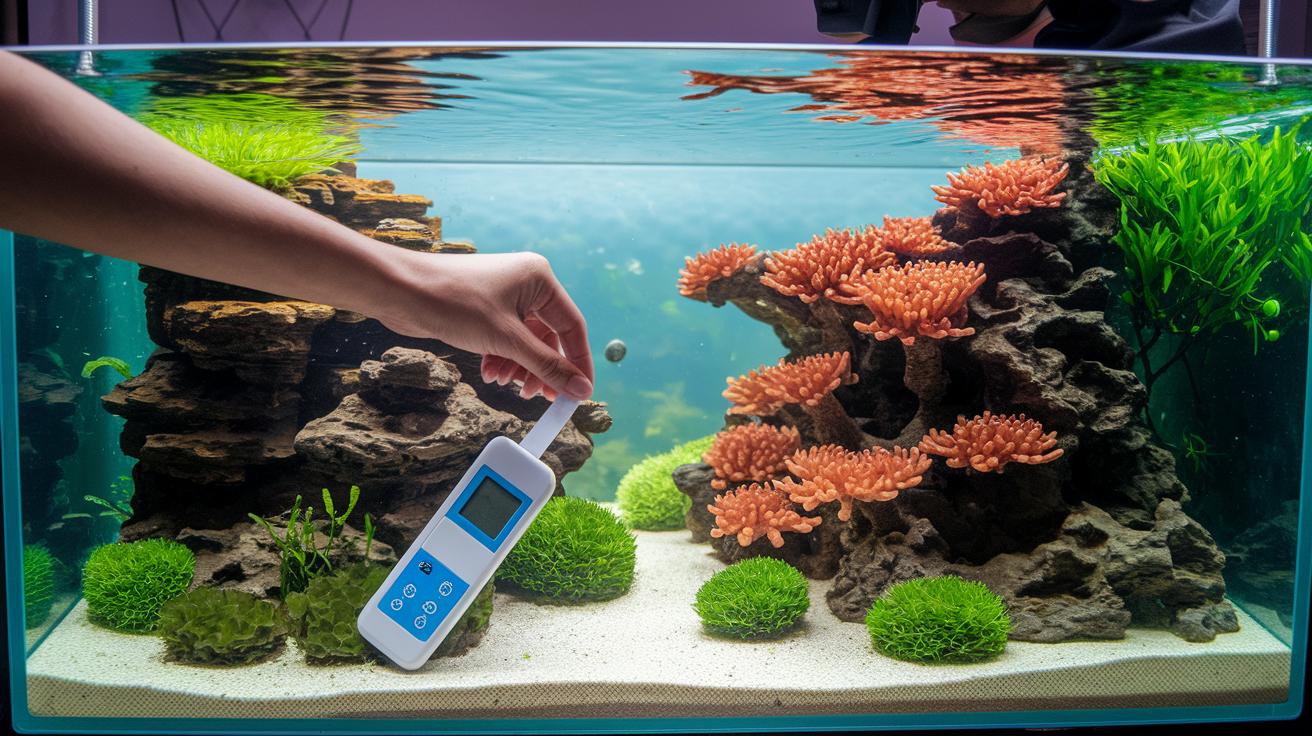
- Grab a water sample from the middle of the tank so it shows the overall state of your water.
- Test the ammonia levels; you want them to stay below 0.25 ppm to keep your fish happy.
- Look at the nitrite levels and ensure there's no sign of nitrite in the water.
- Measure the pH level and write it down. A safe pH is key to a healthy tank.
- Check the water’s general hardness (GH) and carbonate hardness (KH) as these keep the water balanced.
- Look at nitrate levels to make sure they stay under 20 ppm, and if you're in a saltwater tank, run a salinity test too.
- Log all these results along with the date and time.
- Go ahead with your scheduled water change, usually 10-15% of the water; if there are big spikes, you might need to change 30-40%.
- Finally, take another sample after the water change, retest every parameter, compare with your earlier numbers, and note down any differences along with any actions you take.
By following these steps, you set up clear benchmarks for your tank’s water quality and ensure a thriving, peaceful home for your fish and plants.
Key Water Parameters to Measure for Aquarium Health

Keeping an eye on your tank's pH, ammonia, nitrite, and nitrate levels is like watching the soft ripple of water in a peaceful stream. When your pH stays between 6.8 and 7.4, your fish and plants feel right at home. But if ammonia rises above 0.25 ppm or if there's any nitrite, your aquatic buddies can feel stressed and might even get hurt. Nitrates should stick below 20 ppm to avoid too much algae sprouting and to keep the water clear and fresh. Even a small change in these numbers can be a gentle hint that you need to tweak your care routine, maybe by changing the water more often or adjusting the food.
General hardness, known as GH, and carbonate hardness, or KH, are just as important. Think of them as the water's natural cushion that helps it stay balanced. For freshwater tanks, aim for GH levels between 4 and 8 dGH and KH levels from 3 to 5 dKH. Saltwater tanks need a delicate balance too, with a salinity level between 1.023 and 1.025 specific gravity to keep everything in check. Balancing these elements helps you create a safe, soothing environment for every finned friend in your care.
Choosing and Using Aquarium Water Test Kits and Tools
Test strips, reagent kits, and digital meters all bring different strengths to the table. For example, test strips like the Aqueon 7-in-1 give you a quick and budget-friendly way to check your water, while full test kits with chemical reagents dive deeper into what’s happening under the surface. And if you’re after pinpoint accuracy, digital meters such as pH or conductivity devices are a great choice, though they come with a higher price and need some careful handling.
Keeping your testing tools in tip-top shape is essential. I like to calibrate my digital meters every month using the proper calibration solutions, it's like giving your equipment a refreshing new boost. Don't forget to replace any expired reagents and rinse your test tubes and other gear after each use. This routine, much like keeping a detailed log, makes sure each test is as true as the gentle flow in your tank. If you need even more tips, you can always check the "fish tank water quality testing and maintenance" guide on Sweetfysh.com.
Choose the equipment that fits both your tank type and budget, and remember that regular care makes your testing as reliable as the steady current in a peaceful stream.
Interpreting Water Test Results and Identifying Critical Thresholds

When you dip a test strip into your tank or mix a bit of reagent with the water, you’re really listening to your aquarium’s whispers. The color changes act like a conversation, matching up with numbers on a chart that tell you if things are just right or a bit off. For instance, a gentle yellow often means there's only a small trace of ammonia, while a richer, deep green signals that levels might be too high. Even slight changes in tone can hint that your water quality isn’t as balanced as it should be.
It’s a good idea to spend a moment comparing these colors to your charts. To keep your tank safe, aim to have ammonia below 0.25 ppm and no nitrite at all, while keeping nitrates under 20 ppm. And don’t forget the pH, it should be between 6.8 and 7.4 so your fish feel comfy. Think of it as keeping your water’s heartbeat steady by following the guide made just for freshwater tanks.
If you start to see readings creeping toward harmful levels, it’s a gentle nudge to test your water again soon. Retesting is much like checking in on an old friend when something seems a little off. Plus, jotting down your numbers over time can help you spot patterns, so you know exactly when it’s time to dive deeper into your water care routine.
Adjusting Water Change Practices Based on Test Findings

If your test shows a sudden jump in ammonia levels or a drop in pH, it's a good idea to do a bigger water change, about 30 to 40% instead of the normal 10 to 15%. This extra change helps wash away the harmful compounds and brings your tank back to a calm and safe state for your fish.
When you see a cloudy buildup in a new tank because of a bacterial bloom, it's best to hold off on any major water changes. Let the natural buildup of helpful bacteria settle in on its own.
After you adjust the water, wait a couple of hours and test the water again. Checking the pH, ammonia, and other important readings helps you see if the water is getting back to normal. This follow-up test acts like a friendly check-in, letting you know that your steps are working and guiding you on how to keep your tank healthy and stress-free for your aquatic friends.
Ensuring Long-Term Accuracy and Reliability in Water Testing
Taking care of water testing is like keeping an eye on your very own underwater world. Every month, give your digital meters a calibration using the standard solutions, it's like checking the heartbeat of your aquarium. Always follow the maker's advice on storing your chemicals and toss out any kits that have passed their date. Keeping a log with dates lets you see trends, notice if your readings start to wander, and make quick fixes when needed.
Setting up a routine testing schedule is key to avoiding surprises. Try testing your water each week, and add extra checks after any big maintenance. Writing down every step, from the initial calibration to the regular checks, creates a simple record that tells you if your process is working well. This friendly, step-by-step approach helps keep your water balanced so your aquatic pals can thrive.
Final Words
In the action, the blog post walked through a clear protocol for checking water before a change and comparing it after. It covered the basics of gathering test results, using quick, easy methods, and keeping track of readings to spot any issues.
Routine sampling is key to keeping a healthy tank. Following how to test water quality before and after water changes helps maintain a safe, sparkling home for your aquatic friends.
FAQ
Frequently Asked Questions
How do I test water quality before and after a water change for my aquarium, fish tank, or even as discussed on Reddit?
Testing water quality involves sampling before and after changes. You use a test kit or strips to measure pH, ammonia, nitrite, nitrate, and other key parameters, then compare results to track improvements.
How do I test fish tank water at home, even without a full kit?
Testing at home can be done with basic test strips if you lack a full kit. While DIY methods exist, they are less precise, so using a standard kit is best for reliable readings.
How long should I wait after a water change to test nitrates and ammonia?
Testing nitrates and ammonia shortly after a water change—usually within a couple of hours—provides current water quality data. This timing helps detect any spikes or issues that might need attention.
Should I test my water before or after a water change?
Both pre-change and post-change samples are essential. Testing before shows existing issues, while post-change testing confirms that the water parameters have improved after the change.
What is the best and most accurate way to test aquarium water quality?
The best method combines using a reliable test kit with chemical reagents or test strips. For improved accuracy, some aquarists also use digital meters, making it easier to monitor all essential parameters.
What are eight typical methods used to test water quality in an aquarium?
Common methods include testing for pH, ammonia, nitrite, nitrate, general hardness, carbonate hardness, salinity, and temperature. These tests help maintain a balanced and healthy aquatic environment.