Ever felt that doing water changes by hand might be holding your aquarium back? Imagine a little system quietly working in the background, much like a gentle current, to keep your water clear and your fish smiling, all without any extra hours of work.
Automated water changes can take the worry out of your tank care. They create a healthier home for your aquatic friends, letting you enjoy your tank time without stress. In this guide, we share simple, step-by-step tips to turn a tiring routine into an easy, set-it-and-forget-it process. It’s like switching from paddling upstream to floating smoothly with the flow, giving you more moments to relax and enjoy your underwater world.
Step-by-Step Guide to Automating Water Changes in Your Aquarium

Automated water changes help keep your tank sparkling by taking out extra nutrients, toxins, and waste. This means your fish and coral live in a happier, healthier space. Not only do these systems lower nitrate levels and stop algae from overwhelming your tank, but they also free you from long hours of manual work. Imagine turning a tiring chore into a simple, set-it-and-forget-it routine that lets you enjoy watching your aquatic pals glide through the water.
The first step is to check your water quality carefully because clean water is key to keeping your tank's residents safe. For instance, a tool like the GHL Doser Maxi can help a lot. It costs around $300 on its own or $800 if you get it with the ProfiLux controller. This tool helps you dose and schedule water changes precisely so that everything stays on track. You can even compare your water parameters with our guide on fish tank water quality testing and maintenance to make sure your changes are spot on.
This method breaks down into three important parts: planning, installation, and calibration. First, plan your layout by picking the best spots for your dosing equipment and sensors. Then, install everything and calibrate the system by checking the output over a set time to make sure it stays steady. Finally, schedule your water changes and keep testing them routinely to confirm everything is working right. Taking this step-by-step approach transforms your tank maintenance, leading to crystal clear water and healthier, happier aquatic life.
Essential Equipment for Aquarium Automated Water Changes

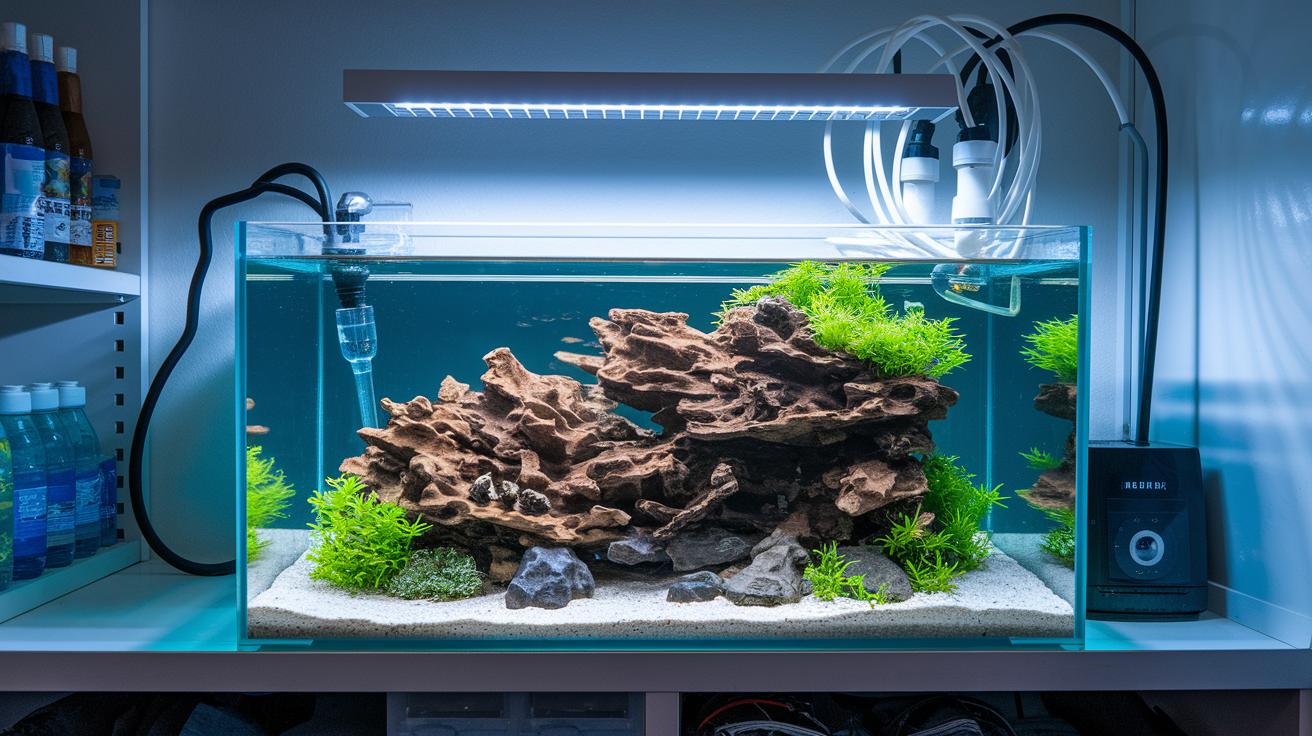
Getting your automated water change system set up is a bit like arranging a small underwater orchestra, where every part plays its own special note. When each component works in harmony, your tank gets the refresh it needs, much like a gentle current carrying away the old water. Your dosing pump, for instance, reliably ticks away like the steady heartbeat of your aquatic world, ensuring that water changes happen with natural rhythm.
Here are the key pieces you'll need:
- Dosing Pump (e.g., GHL Doser Maxi): This little powerhouse measures water with precision, costing around $50 to $200.
- Water Reservoir: Think of it as a safety net sized between 5% and 20% of your tank's volume, holding replacement water; its cost bumps up with size.
- Food-Grade PVC Tubing: These durable tubes keep the water flowing smoothly, usually priced between $10 and $30.
- Solenoid Valve: This handy valve switches your water flow on and off automatically, with a price tag of about $30 to $80.
- Water-Level Sensors: Whether they're float or optical, these sensors watch your water level like a trusted friend, typically costing between $20 and $100.
- Check Valves: These small guards prevent any unwanted backflow and keep your system safe, costing roughly $5 to $25.
Each of these parts plays a unique role in making your automated water change setup as reliable as the gentle ripple of water over smooth stones. Once you put everything together, routine maintenance turns into a hands-off process that keeps your aquarium thriving, letting you sit back and enjoy the calm beauty of your underwater home.
Planning the Layout and Flow for an Automated Water Exchange System
Start by sketching out where your reservoir will go and how your tubing will wind its way. Pick a reservoir that holds about 5% to 20% of your tank’s water so you have just enough replacement water without overloading your setup. When you plan your tubing, use union fittings and try to avoid any sharp turns. This way, water flows as smooth as the gentle ripples over smooth pebbles in a calm stream. Also, set your sensors in smart spots, use simple float switches or optical sensors in both your tank and reservoir to keep a clear eye on the water level and prompt a refill right when it’s needed. For example, you might place your reservoir on a solid surface, give your tubing a soft curve, and install a sensor just below the water’s crest.
Next, ease into your automated system step by step. First, focus on automating the refill process so that your sensors and setup can get used to everyday changes. Test the refill cycle to make sure everything works like a well-timed tide. When you’re happy the tank fills nicely on its own, start adding in the water removal cycles. This gradual approach helps avoid hiccups and gives you a chance to fine-tune your sensor spots or tubing paths if needed. With a little care, you'll soon have a smooth and reliable water exchange system that works as effortlessly as water flowing over river stones.
Installing and Calibrating Your Automated Water Change System
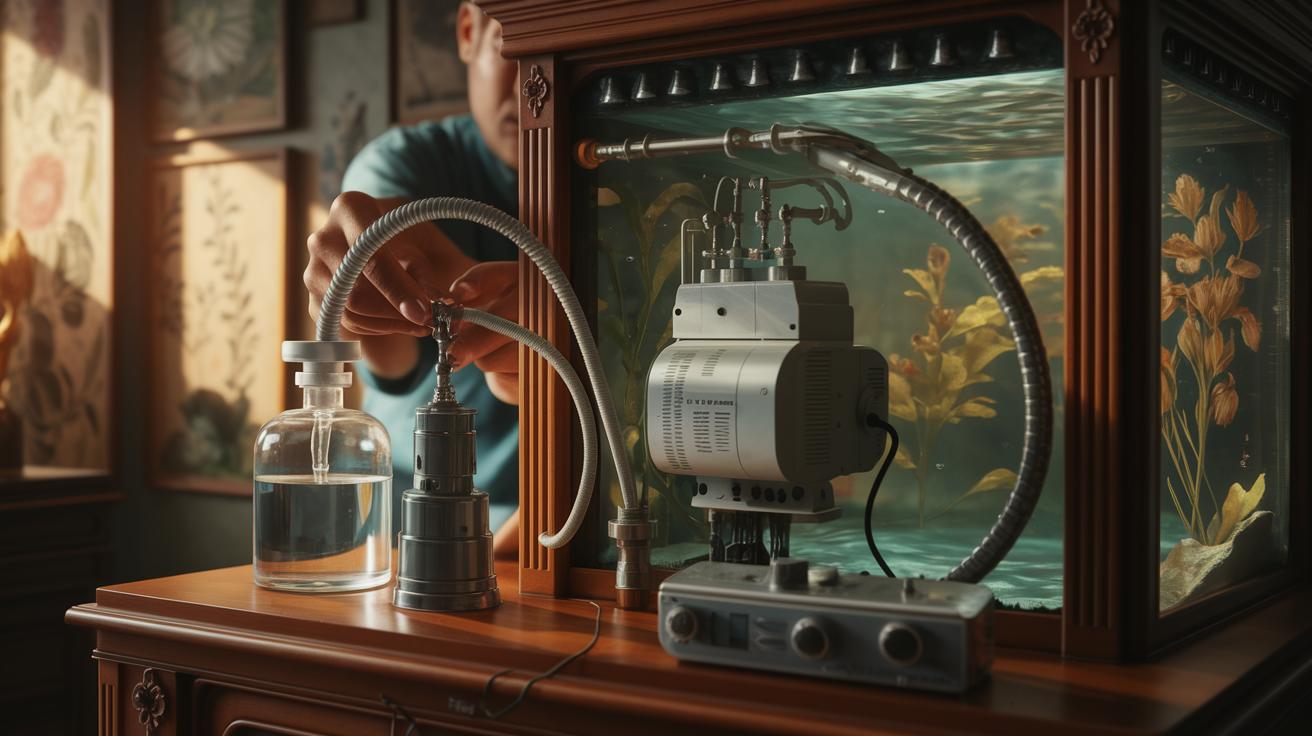
This part picks up where we left off with mounting your reservoir, setting your pump, and placing your sensors. Now, we'll focus on getting your dosing pump just right and setting up your controller. These steps don't repeat earlier installation tips, they’re here to help you fine-tune your system, like adjusting the flow of a gentle stream.
Configuring the Dosing Pump
Run your dosing pump for about 10 minutes for every 20 gallons of water. To check that it’s doing its job, measure how much water comes out in one minute and make small adjustments as needed. If the rate seems a bit off, simply change the run-time until it matches your tank’s needs. For example, if you see that a 10-minute run per 20 gallons isn’t quite right, adjust by testing the one-minute output until it flows correctly. If you're using a system like GHL, you can either run it on its own or connect it with the ProfiLux controller using its dosing channels, as we mentioned before.
Programming Your Controller
Next, set your controller to manage the water removal and refill cycles on a regular schedule. Keep an eye on the first few cycles to make sure the sensors are triggering the refill and removal at the right times. Think of it like watching the ripple of water to ensure everything flows as planned. Once you see that the water is being removed and refilled properly, you can tweak the timings so your setup works perfectly every time. Enjoy the process, getting these details right really makes a difference in your aquarium’s rhythm.
Troubleshooting Common Issues with Automated Water Change Setups
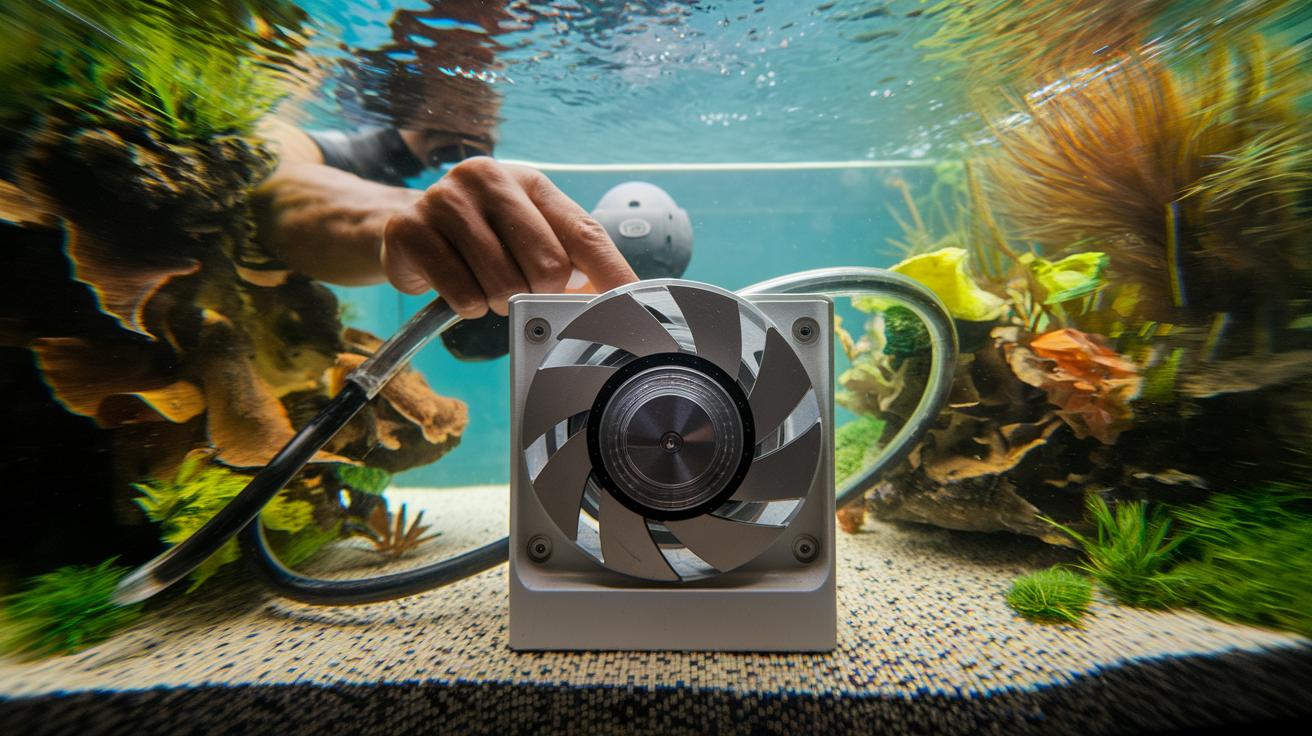
When your pump starts acting up, it can feel as tricky as trying to navigate a winding stream. First, make sure your power supply is all good and then take a peek at the pump's impeller, its little spinning part, for any blockages. Sometimes debris clogs it up, much like a rock in a brook that stops the water from flowing freely. Unplug the pump and have a quick look; getting past this hiccup might get your water running as smooth as a gentle current.
Tube clogging is another common bump in the flow. Over time, residue and slime can build up inside the tubing, slowing everything down. Think of it like algae on a pond, removing it keeps the water clear and moving. Give your tubes a good flush with clean water about once a month to wash away the buildup and keep your system working reliably.
If your sensor starts giving you odd readings and causing water levels to go haywire, it might just need a little tuning up. Check the sensor's calibration and gently clean its clear parts, much like wiping a foggy window to enjoy a clear view. A quick clean can help you see the true water levels again and keep everything on track.
Leaks are the big drips that can spell trouble for your whole setup. Look closely at every connection and fitting, and add O-rings where needed to seal them up. A little thread-seal tape on the threads, just enough to stop those unwanted drops, goes a long way. Adding a check valve can also prevent backflow, giving your automated water change system that extra boost of security you need.
Best Practices for Maintaining Automated Water Change Systems

Regular upkeep is like the gentle pulse that keeps your automated water change system running smoothly. Every month, give your pump housing and tubes a good scrub with a mild bleach mix, and then rinse them well. It’s a bit like treating your fish to a refreshing, crisp swim, ensuring the water stays clear and every part works perfectly without getting gunked up.
Every couple of weeks, take a moment to check and fine-tune your water-level sensors. These sensors act like watchful eyes that make sure your system kicks in at just the right moment, keeping your underwater world balanced. And every six months, swap out your food-grade tubing and service your solenoid valves to keep everything running safe and sound. Taking care of these little details now helps avoid bigger hassles down the road.
Once a year, update your controller’s firmware and back up your schedule settings to give your system a fresh start. It’s like a reset that helps all the smart features work as they should. For more tips on cleaning and part replacements, you can check out preventive maintenance guides for aquarium gear. With the right care, automated water changes can be as effortless and graceful as watching your fish glide through a pristine, healthy home.
Comparing Popular Automated Water Change Systems and Costs

Picking an automated water change system can make your aquarium routine a lot easier. You might notice that each option has its own special perks, cost, and ease of use. For example, the GHL Doser Maxi is very flexible, you can use it alone or pair it with the ProfiLux controller for extra monitoring. And for a simpler, cost-friendly choice, the AutoAqua AWC system does the job without fuss. Then there’s the DIY Arduino-based system, which is great fun if you like to tinker and tailor everything to your liking.
| System | Price Range | Key Features | Pros/Cons |
|---|---|---|---|
| GHL Doser Maxi | $300 standalone $800 with ProfiLux |
Precise dosing control, Option for expanded monitoring with controller |
Reliable and user-friendly, Higher cost when fully integrated |
| AutoAqua AWC System | $150–$200 | Integrated pump, float switch, Food-grade tubing included |
Simple setup, Cost-effective, less adjustable |
| DIY Arduino-based Solution | ~$100 | Custom programming, User-selected sensors |
Highly customizable, Needs a bit of technical know-how |
Each choice fits different needs. If you really value precision and a fully integrated setup, the GHL Doser Maxi with ProfiLux might be your best pick. But if you want something straightforward and affordable, the AutoAqua AWC system could be perfect. And for those who enjoy a hands-on approach and want a custom setup, a DIY Arduino-style system offers plenty of creative freedom while keeping costs low.
Final Words
In the action, this guide walked you through setting up an automated water change system, from choosing key components to installing, calibrating, and maintaining each part. The blog shared practical steps for creating a balanced, attractive underwater habitat while keeping your fish healthy.
Adopting these methods is a smart move if you're wondering how to transition to automated water changes in your aquarium. Every step brings you closer to a cleaner, calming aquatic space filled with care and positive energy. Enjoy the process!
FAQ
What is an automatic water change aquarium system?
The automatic water change system means your tank’s water is refreshed without manual effort. It can be set up as a DIY solution or purchased as ready-made equipment for both freshwater and saltwater tanks, sometimes without drilling.
Should I turn off my filter when doing a water change?
Turning off your filter during water changes can help stop stirred-up debris, although many keep it running if proper cleaning follows. Check your filter’s guidelines to see which method works best.
Can you do daily water changes in an aquarium?
The idea of daily water changes means providing frequent refreshment. While this can improve water quality, daily changes may unsettle fish if water conditions shift too fast, so subtle, scheduled changes are usually best.
Should I remove fish when doing a water change?
Removing fish for a water change is not always needed. Most aquarists leave fish in the tank if the process is gentle, ensuring minimal stress while keeping water quality in check.
Do water changes help new tank syndrome?
Water changes help prevent new tank syndrome by reducing waste and balancing water chemistry. Regular refreshment encourages stable conditions for fish in a newly set up tank.