
Ever wonder if setting up your tank gear is tougher than looking after your fish? Well, think again. It’s a lot like planning a little underwater celebration.
Step by step, you come up with a clear plan – from picking a sturdy stand to making sure your water is safe and steady. It’s like laying out a recipe for your favorite meal, where each part plays an important role.
In just a week or two, this guide shows you how to turn your space into a peaceful aquatic retreat that even your fish will love. So, get ready to enjoy smooth setup days and the soft, gentle flow of life under water.
Step-by-Step Aquarium Equipment Installation Guide
Getting your new aquarium set up is like preparing a special underwater celebration. In about 1–2 weeks, you’ll gather your supplies, set things up, let the water settle, and even give your fish a safe new environment. Plan on spending around $200 to get started for a basic freshwater setup. Remember, a tank filled with water is super heavy (over 10 lb per gallon), so make sure it rests on a strong, flat, waterproof stand. A lid not only helps keep heat and water steady but also makes sure your fish don’t take an unexpected dive out!
Here’s a simple list of what you’ll need:
| Aquarium Equipment | Description |
|---|---|
| Aquarium stand | Strong enough for over 10 lb per gallon |
| Tank lid or hood | Keeps water steady and fish safe |
| Sponge filter | Creates a gentle flow with basic tubing |
| Heater | With built-in thermostat following the 1 W per liter rule (add two small heaters for larger tanks) |
| LED lighting system | Set on a timer to help limit algae growth |
| Air pump | Works with tubing and an air stone to keep the water lively |
| Gravel vacuum | Makes cleaning the substrate easier |
| Water test strips and dechlorinator | Ensure the water is safe for your aquatic pets |
Now let’s walk through the steps:
Step 1: First, place your sturdy aquarium stand on a flat, hard surface and make sure it’s level. Think of it as setting a strong, stable table for your tank.
Step 2: Gently set your clean tank on the stand, much like hanging a beautiful picture on a smooth wall.
Step 3: Next, give the tank and substrate a good rinse using water only. It’s as simple as washing your fruits and veggies before enjoying them.
Step 4: Put on the tank lid to reduce water loss and heat buildup, and to keep your fish safe inside, just like covering a tasty snack.
Step 5: Install your sponge filter and attach the tubing carefully. This little helper will do a great job creating a soft water flow.
Step 6: Find a low-flow spot in your tank to place the heater, following the rule of 1 W per liter. Consider it like setting up a cozy space heater where it works best.
Step 7: Hook up the air pump using the tubing to connect to your air stone or sponge filter. It’s like connecting a gentle heart pump to keep the tank lively.
Step 8: Mount your LED light and set its timer to give your aquatic plants the right amount of light. It’s a bit like setting an alarm clock to keep a steady routine.
Step 9: Slowly fill your tank using water that has been treated with a dechlorinator, ensuring it’s a refreshing space for your fish, almost like serving a drink that’s been carefully prepared.
Step 10: Finally, use test strips to check the water quality and make any final adjustments to the filter and heater. Imagine tasting a meal and tweaking the spices until it’s just right.
Enjoy watching your underwater world come to life as you follow these steps with care and attention!
Required Tools and Materials for Aquarium Equipment Setup

This extra guide gives you a closer look at each item in your setup kit. When measuring your tubing, cut it a bit longer than needed, say, 2 extra inches, to keep things snug and leak-free, like making sure your favorite cozy nook is just right.
Gather all these tools not only to follow each step but also to know what each one does. Before you set things up, check the heater’s thermostat, and make sure your filter creates a calm, gentle flow. One tip: set your equipment next to the tank and inspect every part, just like laying out puzzle pieces before putting together a complete picture.
| Tool | Purpose |
|---|---|
| Aquarium stand | Keeps your tank safe by holding its weight |
| Filter | Creates a gentle water flow and cleans your water |
| Heater | Keeps the water at a steady, comfortable temperature |
| Lighting | Helps plants grow and makes everything easy to see |
| Air pump | Adds extra oxygen to the water |
| Testing kit | Checks the water quality using test strips |
Before you start your installation, take a moment to lay out and review all your gear. This simple step makes the process run as smoothly as a gentle stream and helps create a thriving ocean-like home for your aquatic friends.
Installing Aquarium Filters, Heaters, and Pumps
Filter Installation
Start by priming your filter media well to clear out any trapped air. Run water through it until the flow is smooth, just like watching a calm stream without bubbles. Next, make sure your inlet and outlet tubing fit snugly as per the manufacturer's instructions. Lower the intake below the waterline so air locks don’t form, and double-check that all connections are secure and leak-free.
Heater Setup
Stick with the 1 watt per liter rule to keep your tank's temperature steady. Place your heater in a quiet corner of the tank where water flows gently, which helps the built-in thermostat work just right. I always use an extra thermometer for a second opinion. For larger tanks, using two smaller heaters can help eliminate cold spots. Ensure the heater is firmly fixed away from any decorations and glass so it runs safely and effectively.
Pump and Air System
Position your air pump above the water level to keep moisture at bay, and attach the airline tubing firmly to your sponge filter or air stone. Imagine the tube running in gentle curves rather than sharp bends, it’s all about letting the air flow freely. Check that all connections are tight, ensuring your sponge filter sends a constant stream of soft, fine bubbles through your tank, boosting oxygen just like nature intended.
Configuring Aquarium Lighting and Decorative Setup

Start by giving your tank a gentle rinse. Wash the substrate, rocks, and decorations with just water, no soap, to wash away any dust that might cloud your water later. Picture it like giving your aquarium a refreshing bath before the real fun begins.
Next, arrange your decorations to keep the water flowing smoothly. Place your rocks and driftwood with plenty of space around them so the filter and heater can do their job without obstructions. It’s a bit like setting up your living room, where you leave enough room for everything to breathe.
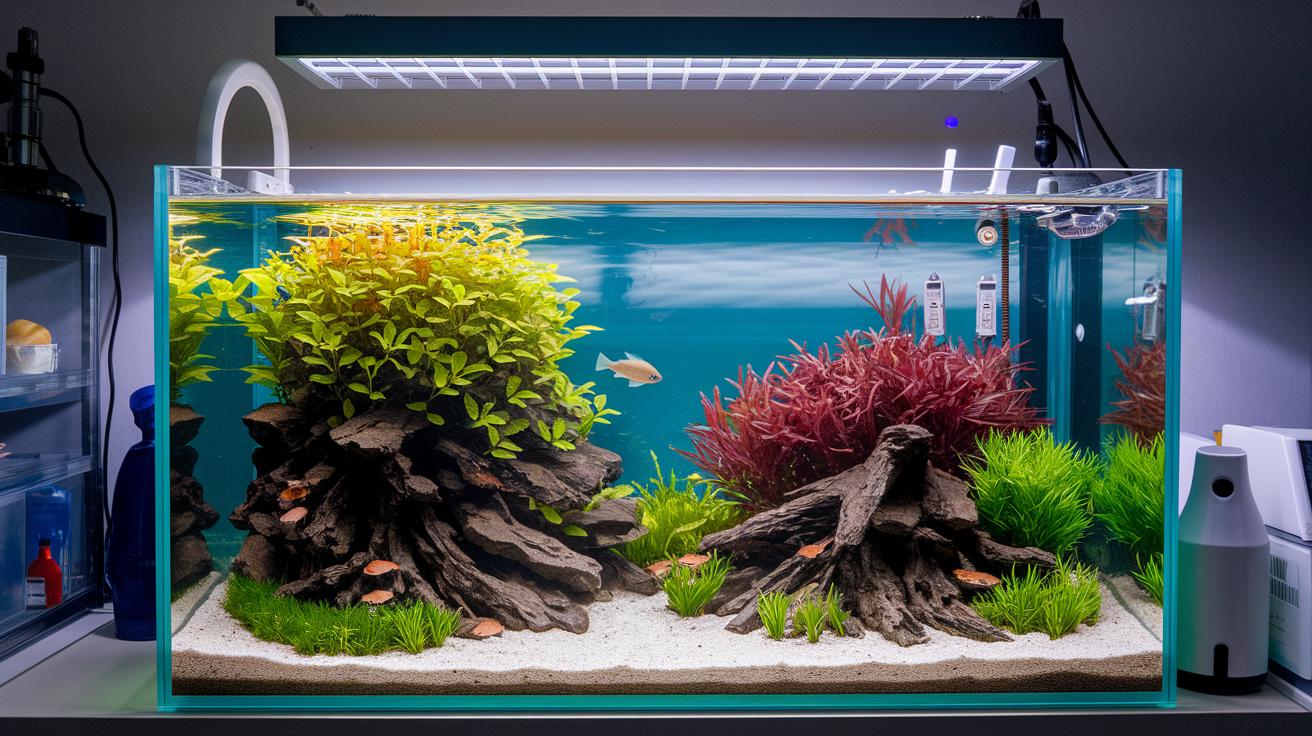
Then, set up your lighting in a way that helps your plants grow and makes your tank look beautiful. Choose LED lights made for planted tanks and use a timer so they mimic natural daylight while keeping algae away. If you’re just starting out, built-in lights that support plant growth can really save the day. And when it gets dark, add blue "moonlight" LEDs for a charming nighttime glow. Arrange the lights so every corner of your tank gets an even wash of light, turning your aquarium into a tiny underwater stage full of vibrant color.
Safety Precautions and Troubleshooting for Aquarium Installation
Safety Precautions
Place your tank on a sturdy, flat waterproof surface or a certified stand that can truly hold its weight. Keep all power strips well above the waterline and make neat drip loops with the cords to lower any risk of electrical surprises. The tank lid not only helps keep the water at a steady temperature but also keeps your fish safely inside. Check every seal and tubing connection like you would inspect a boat for leaks before you set sail. It’s super important to ensure that each piece of equipment, be it the heater, filter, or diffuser, is firmly in place to avoid any shifting that might throw things off balance.
Troubleshooting Tips
If you spot a leak, take a moment to recheck every fitting and give any worn O-rings a tighten or replacement. Watch how the water flows: if the filter stirs up too much chaos or the heater seems a bit off, try adjusting their positions or the flow rates until things calm down. To be sure the heater is accurate, compare its reading with another thermometer, much like checking the seasoning in your favorite meal until it tastes just right. Keep an eye on every part of your setup and fine-tune as needed to help your aquarium run at its best.
Maintenance and Verification Steps After Aquarium Equipment Installation
Once your aquarium is all set up, kick things off by running a fishless cycle. Think of it like tuning a fine instrument, ensuring the water is just right before any fish come to call home. Use test strips every day to check ammonia, nitrite, and nitrate levels so you can catch any issues early. I usually run a gravel vacuum at least once a week to swoop up any debris, and plan for a partial water change of about 10–20% every two weeks to keep the quality fresh. Soon after setting everything up, take a moment to fine-tune the filter intake and heater output, making tiny tweaks to get everything working perfectly.
Next, focus on getting a nice, steady water flow by adjusting the pump’s flow heads; this helps avoid any dead spots in your tank. Keep a stash of fish food that suits your species close by, you know, just in case. And don’t forget to swap out those test strips every six months so you’re always in the know about your tank’s health.
Final Words
in the action, you stepped through a detailed setup guide for aquarium equipment installation and learned how to prepare your tank, gather needed tools, and install key components like filters, heaters, and pumps. The guide also showed proper lighting, decor placement, and essential safety checks. Each step helps form a secure and appealing underwater home. Keep up with regular maintenance and verification to make sure your aquatic space stays bright and healthy. Enjoy watching your beautiful setup thrive every day!
FAQ
How to set up a tropical fish tank for the first time?
The tropical fish tank setup starts by gathering all the needed equipment, positioning the tank on a sturdy stand, thoroughly rinsing the substrate and decor, and carefully installing filters and heaters before water cycling begins.
How do I start a fish tank as a beginner?
The beginner fish tank setup involves choosing a user-friendly kit, preparing the tank and stand, rinsing materials, installing essential equipment, and testing water parameters before adding any fish.
How to set up a freshwater aquarium with live plants?
The freshwater aquarium with live plants setup involves rinsing substrate and decor, installing proper lighting with timers for plant growth, and strategically placing plants to allow optimum water flow and nutrient balance.
How do you fill a fish tank for the first time?
Filling your fish tank for the first time means adding water slowly with a dechlorinator and using test strips to confirm safe chemical levels, ensuring a gentle start that protects your aquatic friends.
What is included in a fish tank setup kit?
A fish tank setup kit typically includes a rated aquarium stand, filter, heater, LED lighting, water conditioner, and test strips, offering all the essential tools to create a stable aquatic environment.
How do I set up a fish tank for goldfish?
The goldfish tank setup calls for a spacious tank with ample water volume, a gentle sponge filter, appropriate heater settings, and a secure lid; it also stresses the importance of cycling the water before introducing fish.
How do I set up an aquarium step by step, including a planted tank?
Setting up an aquarium step by step means first positioning your tank on a proper stand, rinsing the tank and substrate, installing the filter, heater, and lighting, adding plants and decor, and then cycling the water before adding fish.
How long should I let a new aquarium sit before adding fish?
Allowing your new aquarium to sit for one to two weeks gives it ample time to cycle properly, creating a stable and safe environment for fish prior to their introduction.