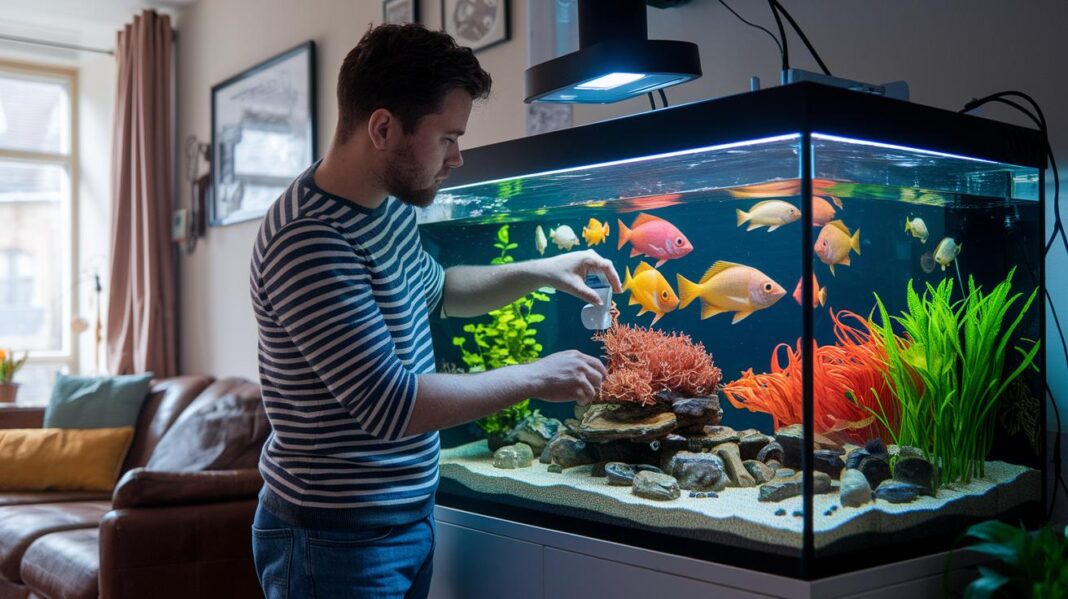

Ever wondered if your aquarium could look after itself? Picture your tank with its very own digital diary, keeping tabs on water quality and temperature like a gentle, underwater guardian. We guide you through setting up this neat system using simple sensors and a small computer, think of it as adding a friendly helper to your aquatic world. This easy, step-by-step process saves you time while ensuring your fish enjoy the perfect, soothing environment.
Step-by-Step Guide to Setting Up an Automated Aquarium Monitoring System
Keeping your aquarium's water fresh is super important. An automated system helps you spot changes quickly, whether it's a shift in energy use or a little drift in temperature. With steady sensor readings, your tank stays healthy and your fish swim happily.
- Pick out a temperature sensor and a flow sensor (for example, the DS18B20 probe for temperature and a water-flow meter for water movement).
- Grab a small computer like a Raspberry Pi 4.
- Connect the sensors the right way, use a 1-wire bus for the temperature probe and connect the water-flow meter with its proper interface.
- Install and set up simple scripts that send your sensor’s readings straight to InfluxDB. Think of it like keeping a digital diary of your aquarium’s condition.
- Launch an InfluxDB instance on a local or cloud server.
- Build Grafana dashboards so you can see your aquarium’s key stats in real time.
- Set up alert notifications by entering your SMTP details and defining the right threshold values to watch for.
Each step will be explained in the sections that follow. You'll learn how to hook up your gadgets, write easy-to-follow scripts, and keep a close eye on your tank’s health. Enjoy the process, and remember, every little ripple of progress makes your underwater world even more magical!
Selecting Hardware and Sensors for Your Automated Aquarium Monitoring System
Temperature Sensors
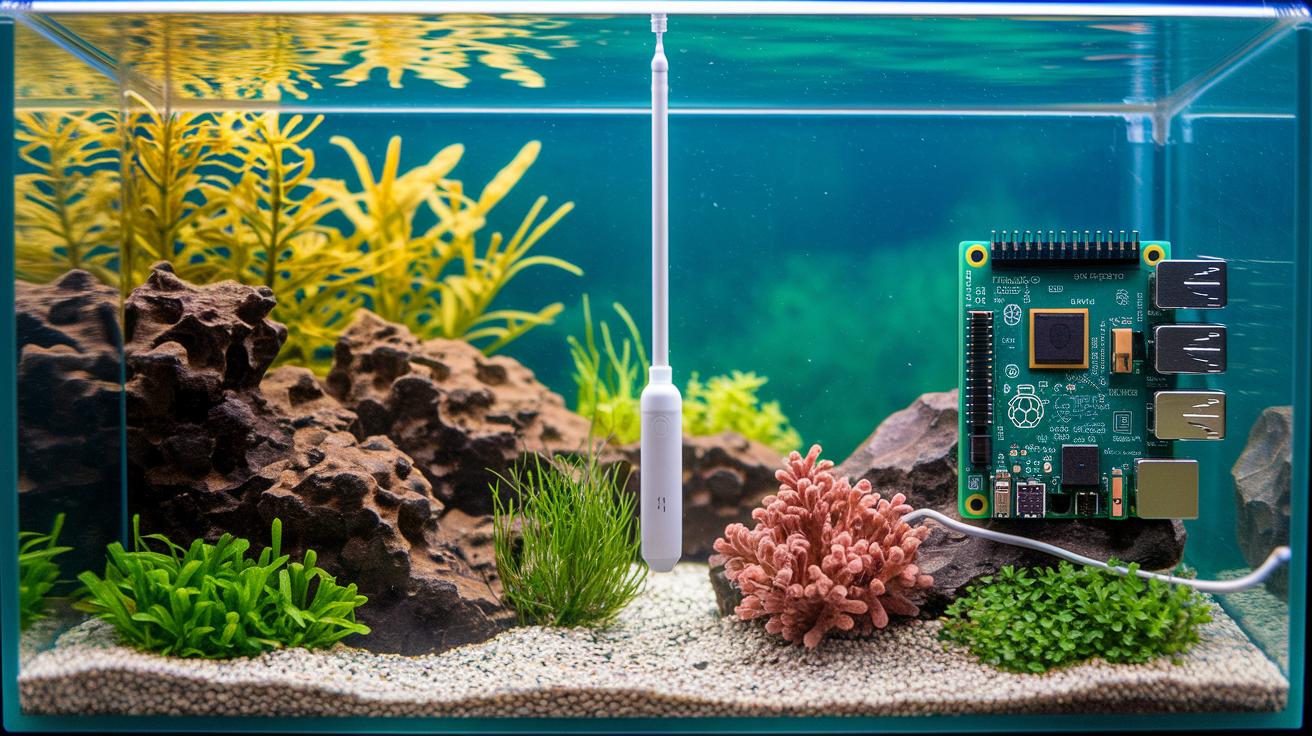
I like using DS18B20 temperature probes because they give very accurate readings and work on a simple 1-wire bus, kind of like a smooth current that carries signals. It’s best to buy genuine probes from trusted vendors so you avoid any fakes that might give odd readings. For instance, a certified probe reliably picks up even the tiniest change in water temperature.
Single-Board Computers
A Raspberry Pi 4 is a solid choice for handling your tank’s monitoring needs. It comes with plenty of GPIO pins and a steady power supply, making it a reliable friend for running your sensors and scripts. Sure, there are other boards out there, but the Raspberry Pi’s popularity means it works well with a wide range of sensors and projects.
Water-Flow Meters
Water-flow sensors come in different designs such as hall-effect or turbine types to track water movement. Hall-effect sensors are often a favorite because of their simple setup, but you do need to pair them with proper signal conditioning to handle the unique signals that you might encounter in an aquarium setup.
| Sensor Type | Recommended Model/Specification | Interface |
|---|---|---|
| Temperature | DS18B20 (genuine) | 1-wire bus |
| Water Flow | Generic hall-effect meter | Pulse output |
| SBC | Raspberry Pi 4 | GPIO |
Wiring and Installation Best Practices for Automated Aquarium Monitoring System
When you set up your aquarium sensor wiring, think of waterproofing as your first line of defense. Using shielded cables and waterproof connectors is like giving your sensors a cozy, dry home where they can thrive without worry of splashes or leaks. Good cable management not only keeps your setup neat but also prevents accidental trouble.
Next, choose the right pull-up resistor to keep the 1-wire bus voltage steady. Even with long wires, a properly placed resistor helps maintain a consistent voltage, ensuring accurate readings. This little step can make a big difference, like preventing those odd temperature readings you sometimes see with fake DS18B20 probes.
When it's time to mount your sensors, opt for non-invasive clips or suction mounts. These easy-to-use options let you move your sensors around without drilling holes or damaging your tank. It’s like giving your aquarium a little makeover without any major disruption.
Software Configuration and Data Visualization for Your Automated Aquarium Monitoring System
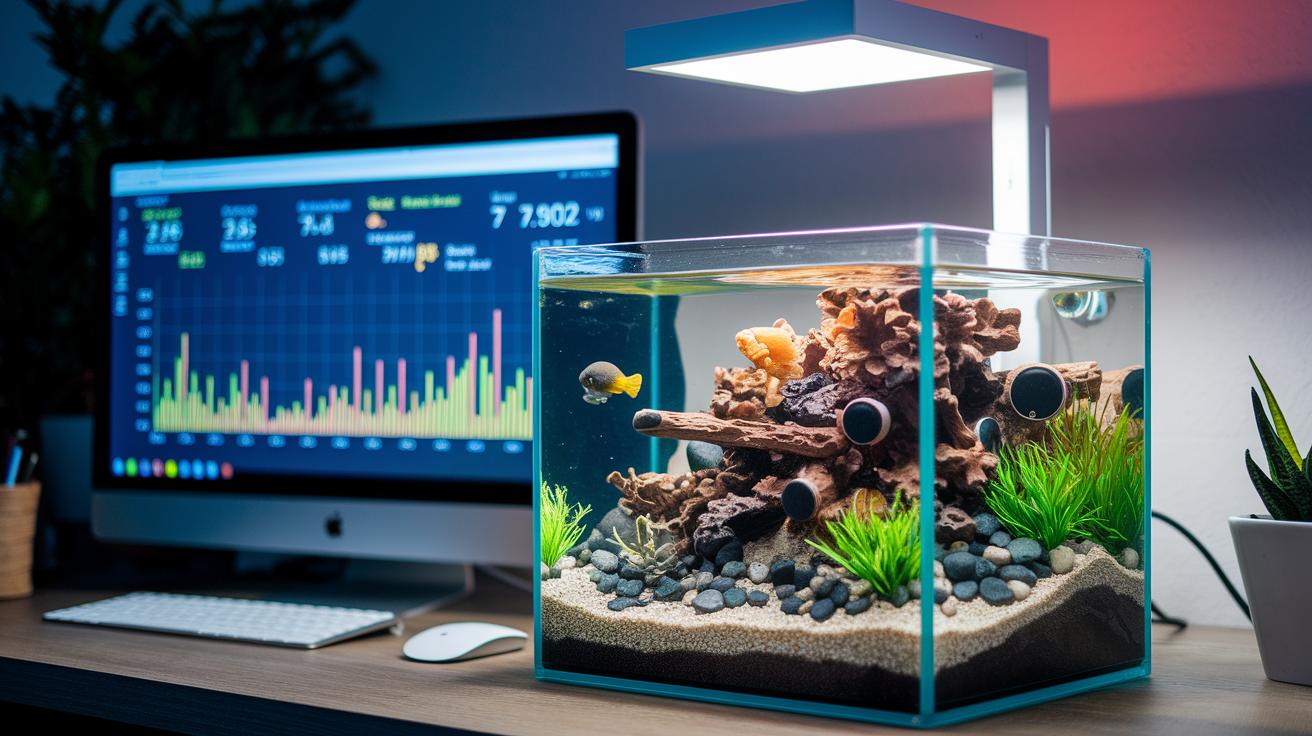
Get started by installing InfluxDB on your single-board computer or even on a remote server. This handy tool helps you keep all your sensor data safe and organized, just like keeping every ripple of your tank’s water in check. InfluxDB records each reading with a time stamp quickly and reliably, making it perfect for watching the tiny changes in your aquarium’s water. It’s light on resources and works smoothly to track important details like temperature, water flow, and energy use over time.
Next, set up Python or Node.js scripts to regularly check your sensors and capture details like temperature and flow from your tank. Picking clear time intervals lets you catch both the quiet moments and those bursts of excitement when your tank is buzzing. Keep in mind, these scripts send data straight to InfluxDB without any extra buffer, so if there’s a network hiccup, some data might slip through the cracks. Testing your setup with simulated sensor values is a smart way to make sure every important change in your aquarium gets caught.
Then, install Grafana swiftly and load some pre-made dashboard JSON files to see your aquarium’s data come alive on interactive charts. Connect Grafana to your InfluxDB and craft custom panels that show off key details like temperature, water flow, and energy use in clear, simple visuals. Don’t forget to add your SMTP details and set up alert rules. This way, if any sensor reading goes above your set limit, you’ll get a quick alert so you can jump into action.
Configuring Alerts and Automated Controls in an Automated Aquarium Monitoring System
Keeping your aquarium's pH and temperature just right is key to a healthy tank. Real-time alerts help you catch any changes as quickly as a fish swimming by. To keep things simple, we’ve merged the setup for email settings, alert rules, and notifications into our Software Configuration and Step-by-Step Guide sections.
If you need a quick refresher, here’s what to do:
- Add the email (SMTP) settings in Grafana’s configuration file.
- Set up a contact point, whether it’s an email address or a webhook.
- Create alert rules on each dashboard panel based on set thresholds.
- Test alerts by simulating changes in your water conditions.
- Adjust the query timing and thresholds to keep false alarms to a minimum.
The configuration also covers pump controllers or dosing pumps. For example, a pump controller can adjust the water flow automatically when sensor readings go off-range, cutting down on manual work.
Troubleshooting and Maintenance Protocols for Automated Aquarium Monitoring System
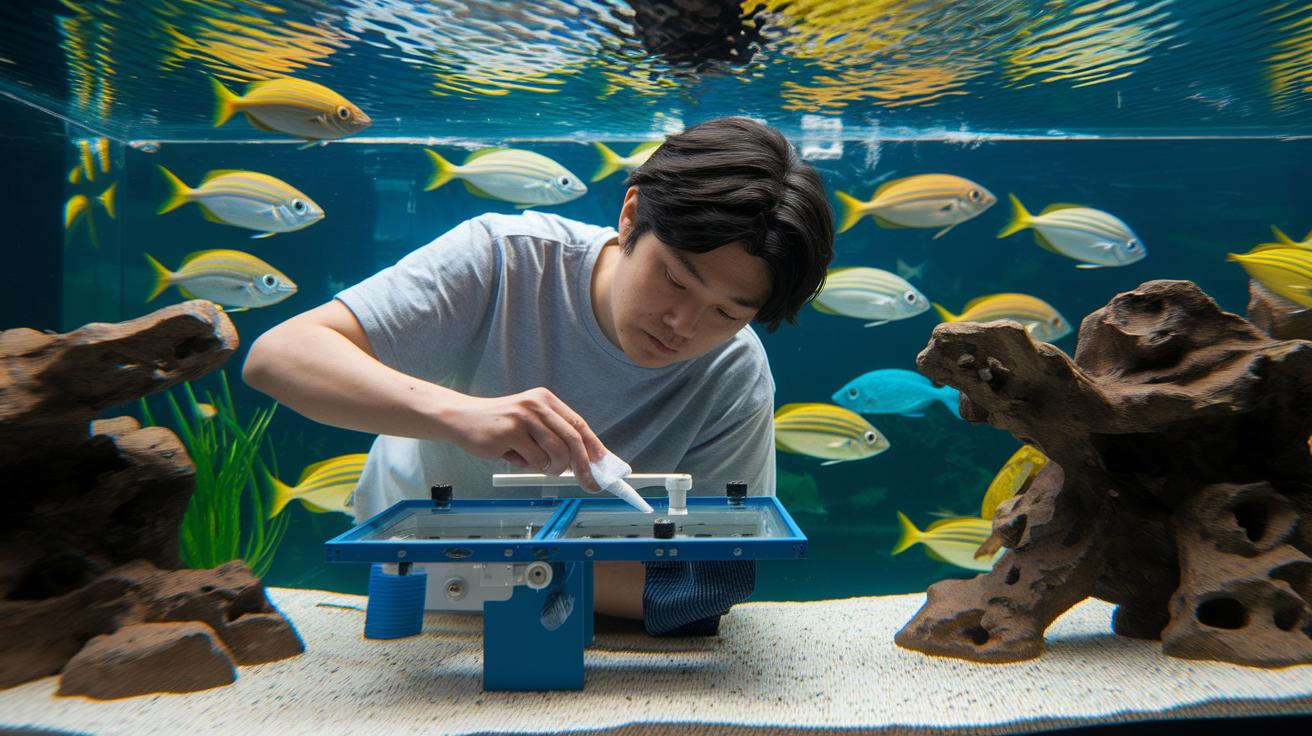
When your system misses a few readings, start by checking your network connection and then take a look at your data-logging scripts to see if anything’s set up wrong. Often, a reading gap means there was a short network hiccup or a little glitch in the code that sends sensor data. A quick check of your logs and fixing any errors helps keep everything flowing smoothly like a gentle stream.
Make it a habit to inspect your sensors for any wild or spiky readings. These odd numbers might be a sign that a probe isn’t the real deal or that it just needs a bit of cleaning. Wipe each probe gently with a soft cloth and double-check that its calibration matches your aquarium’s setup. Also, have a peek at your wiring, ensuring all connections are snug can really boost the trustworthiness of your sensor outputs.
Backing up your InfluxDB and Grafana configurations all on their own can really save the day when unexpected issues pop up. Set regular backups so you can quickly restore everything if connectivity drops or tweaks in the code cause any data gaps. For more detailed tips on keeping your system stable, check out the maintenance schedules for a stable aquarium ecosystem via this link: https://sweetfysh.com?p=1059.
Final Words
in the action, we walked through picking sensors and hardware, setting up safe wiring practices, and configuring data tracking tools. Each step helps you build a clearer picture of connecting DS18B20 sensors, a Raspberry Pi 4, and smart alert systems. Our guide offers clear tasks from installation to maintenance, making it easier to keep your tank thriving. We hope these insights inspire you to learn how to set up an automated aquarium monitoring system for a safe and healthy underwater habitat.
FAQ
How does an Arduino-based aquarium monitoring system work?
The Arduino-based aquarium monitoring system uses a microcontroller linked to sensors that measure parameters like temperature and water flow. It offers a DIY method for tracking tank health reliably.
How do auto top off systems work in aquariums and how do I set one up in a sump?
The auto top off system maintains water levels by detecting water loss and activating a refill pump. Setting one up in a sump means installing sensors, a pump, and calibrating the system for consistent water levels.
How does a Raspberry Pi aquarium controller enhance tank monitoring?
The Raspberry Pi aquarium controller collects sensor data and runs scripts for real-time monitoring. It accurately tracks temperature, water flow, and energy usage, helping to maintain a balanced aquatic environment.
What is the automatic water tester for aquariums?
The automatic water tester monitors essential parameters like pH and chemical balance using built-in sensors. It quickly alerts owners when water quality drifts from safe levels, ensuring timely care.
How do you set up an aquarium wave maker?
The aquarium wave maker creates gentle water currents using submersible pumps or similar devices. It encourages proper water circulation and oxygen distribution, which helps prevent stagnant areas in your tank.
What app lets you design fish tanks?
The fish tank design app provides an interactive platform to plan your aquarium layout. It lets you arrange decorations, plants, and equipment, making it easy to visualize and adjust your aquatic habitat.