
Have you ever wondered if your aquarium lights are working their magic perfectly or hiding little issues? A clever lighting setup can help your plants grow and show off your tank’s real colors.
In this simple guide, we walk you through every step, from measuring your tank to setting up your lights just right, like arranging a graceful water dance. You'll get clear, friendly advice that makes your aquarium sparkle with life and beauty.
Ready to light up every corner of your underwater world?
Step-by-Step Aquarium Lighting Installation Guide
-
First, measure your tank and plan your setup. Picture getting everything ready like setting the scene for an underwater ballet. Whether your tank is for plants or corals, decide early, you might need a lower light for plants and higher placement for corals to let the light reach all areas.
-
Next, pick out the right light and brackets that hold it in place. Look for lights that offer a good balance between adding beauty and keeping your plants healthy. For smaller tanks, a basic LED might do the trick, while larger tanks might call for something a bit more advanced. And don’t forget: choose brackets that stay secure so your light shines evenly across your aquarium.
-
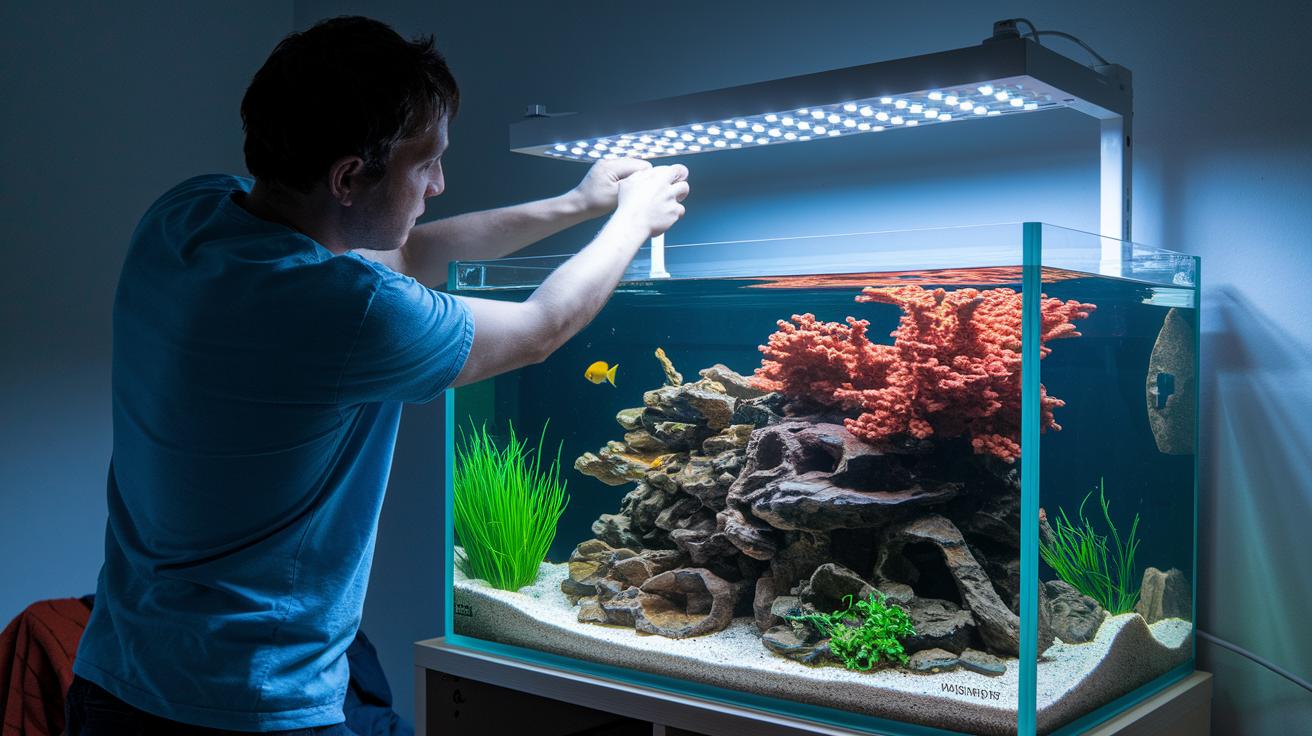
Now, it’s time to install your lighting system. Secure your chosen brackets or rail along the top of your tank. Make sure your light hangs just right, covering every corner of your little underwater world. A solid installation not only looks good but also helps your light last longer.
-
Then, carefully arrange the wiring. Use neat drip-loops and waterproof connectors to protect the wires, leaving a little extra slack for future tweaks. Once everything is connected, turn on the lights to see that each one glows as it should, creating a vibrant scene in your tank.
-
Lastly, do a final check. Look over all the connections and adjust the angles of your light fixtures so that the illumination is even. Tweak the brightness gently for the best performance and longevity, and soon you’ll have an aquarium that feels like a naturally lit underwater paradise.
Planning Your Aquarium Lighting Installation Strategy
First off, take a good look at your tank. Are you setting up a freshwater display with lush live plants, or is your marine setup more about vibrant corals? Freshwater tanks thrive on a gentler light, while marine tanks need sharper beams to make those colors pop. Think of it as choosing the perfect glow to bring your underwater world to life.
Next, grab a tape measure and note down your tank’s length, width, and height. Calculating the volume might seem technical, but it’s as essential as making sure your fish have plenty of space to swim. Measure carefully, like you’re crafting a cozy home for your finned friend.
Now, it’s time to plan your budget and wiring layout. Compare the cost of entry-level LED fixtures for tanks between 15 and 50 gallons with the pricier, advanced options suited for larger systems. Remember to add extra expenses like controllers and backup power. I like to picture it as drawing a map for a mini underwater city, every cable and wire has its special role.
Then sketch out where your cables will run and mark down where your power outlets are located. This little bit of planning now helps you avoid tricky adjustments later on. If your setup feels complex, think about using modular lighting systems. They let you easily adjust the brightness and timing as your aquarium grows and changes.
- Assess whether your tank is freshwater or marine to choose the right type of light
- Measure your tank’s dimensions and calculate its volume
- Set a budget that covers fixtures, controllers, and any extra hardware
- Plan your cable routes and mark power outlet positions to keep everything neat
These steps lay the foundation for a smooth, efficient aquarium lighting installation, making your underwater haven as dazzling as a clear, sunlit lagoon.
Essential Tools and Equipment for Aquarium Lighting Installation
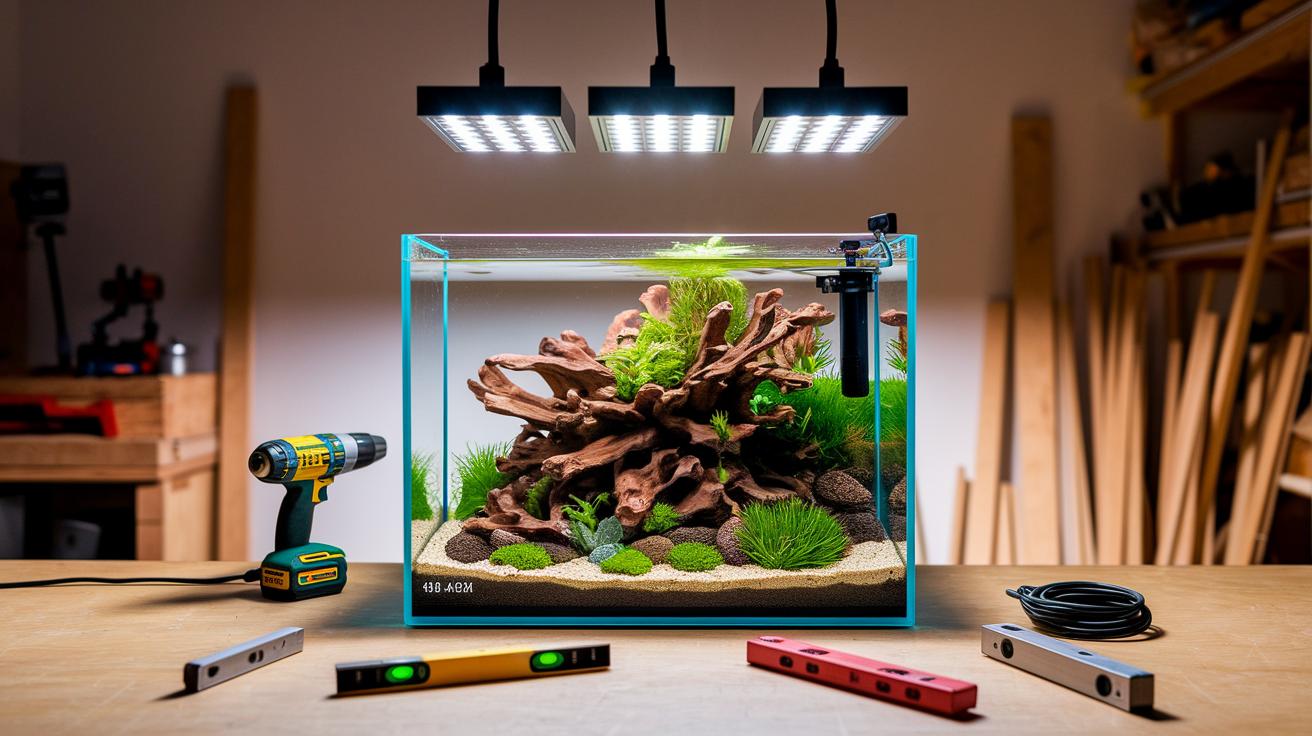
When you're ready to light up your aquarium, having the right tools can make all the difference. Start with basics like a drill, a level, a GFCI extension, and sturdy mounting brackets. These help keep your fixtures secure and your setup neat and safe, much like arranging smooth pebbles along the tank's bottom.
If you're just getting started, the Aqua Worx SOL LED is a friendly choice. At $56.99, it provides energy-efficient full-spectrum light that makes your plants flourish while using 30–50% less power than those old fluorescent bulbs. It's like giving your underwater garden a gentle, energy-saving sun!
For aquariums that hold between 20 and 75 gallons, the Aquaillumination Freshwater Blade is another solid pick. It lets you adjust the lighting to fit your setup perfectly. And if you're an advanced aquarist with a planted tank that uses CO₂ injection, you might love the EcoTech Freshwater Radion. This option offers high PAR output, that's the plant-friendly light, and lets you dial in the perfect spectrum for a polished, professional look.
| Model | Price | Application |
|---|---|---|
| Aqua Worx SOL LED | $56.99 | Beginners |
| Aquaillumination Freshwater Blade | Varies | Intermediate |
| EcoTech Freshwater Radion | Varies | Advanced |
Choosing the right tools for your lighting setup will let you enjoy an aquarium that’s not only efficient but also a beautiful, peaceful underwater world.
Mastering Fixture Mounting in Aquarium Lighting Installation
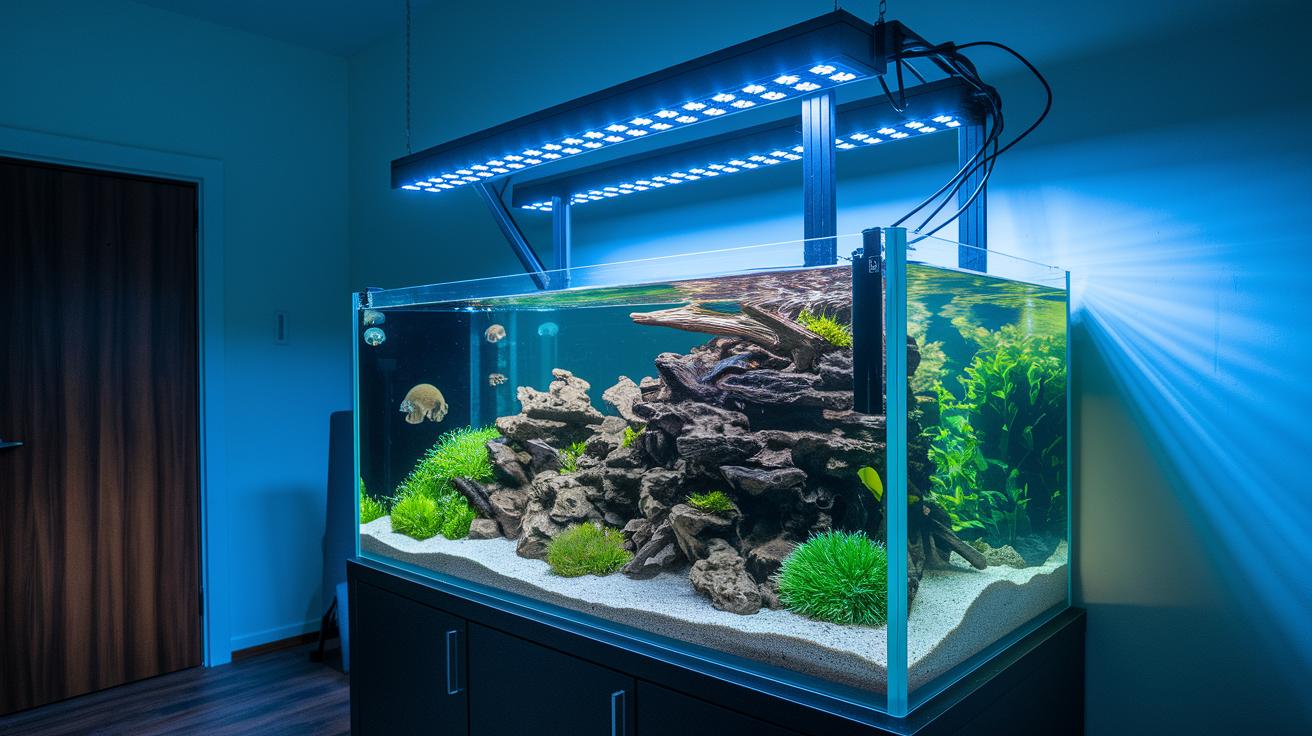
Getting your aquarium lights securely in place is like setting up the perfect stage for your underwater world. First, decide whether you want to use exposed brackets or hidden rail systems. Exposed brackets show off your fixtures, giving your tank a modern feel and making it simple to adjust them later. On the other hand, hidden rails keep the look neat so your focus stays on the living beauty inside your tank.
When you choose exposed brackets, fix them securely along the top rim of the tank. This way, the light can cover every corner without interference. If you go for a hidden rail system, hide it behind your tank decor for a clean look that still gives off plenty of light.
Have you ever noticed how white surfaces can boost brightness? Try placing a light near a white wall to bounce extra beams into your aquarium. Imagine your tank glowing with soft, cascading light that makes each plant shine.
It’s best to keep decorations around your lights simple so nothing blocks the glow. You can even set up background LEDs with calming blue or purple shades to create a gentle, color-therapy effect that works beautifully with both freshwater and marine setups.
Electrical Wiring and Safety Practices in Aquarium Lighting Installation
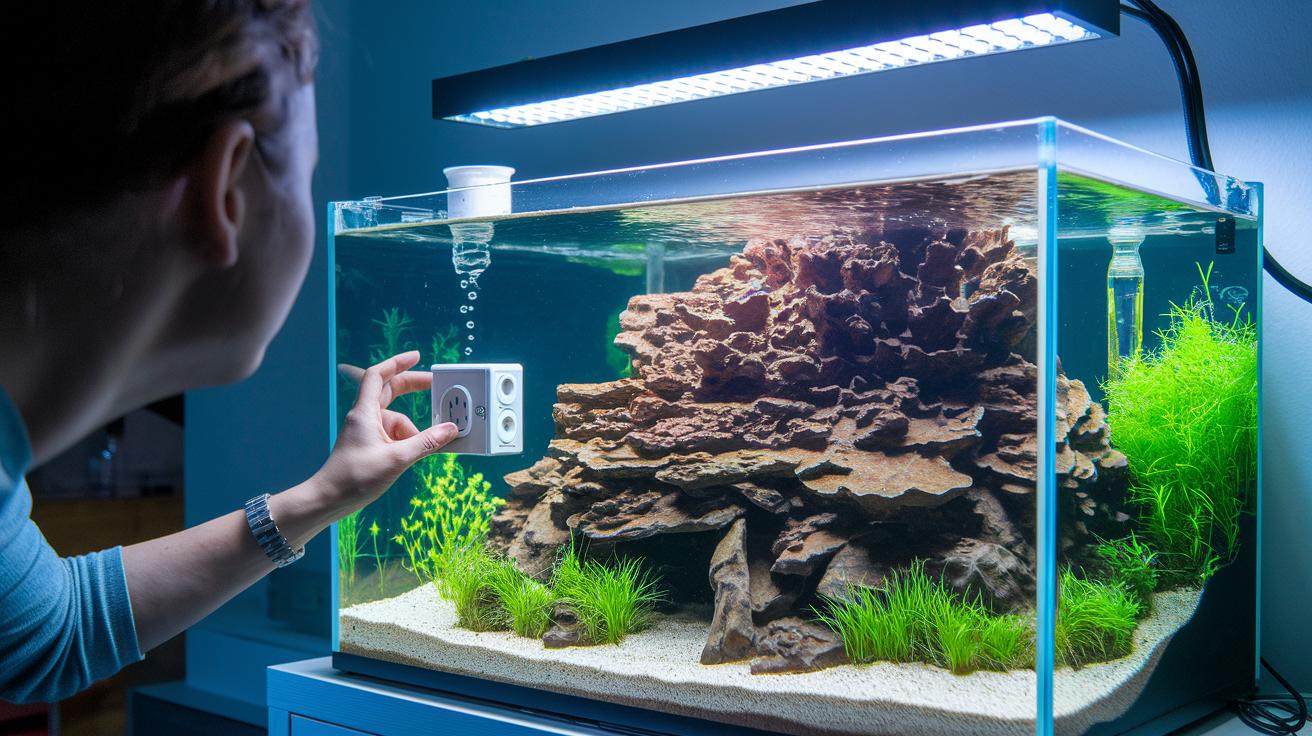
Before you begin, double-check that your power connections are tight and secure. Use a GFCI-protected outlet that cuts power if water ever sneaks too close, so your aquarium stays as safe as a fish tucked in for the night.
Next, keep an eye on your wiring by running cables in a drip-loop, a simple loop that stops water from following along the cords. Switch out regular connectors for waterproof ones, and opt for low-voltage LED drivers that offer a gentler energy flow. When you hook up your cables, leave a bit of extra slack, about an inch or two, to make future tweaks or routine checks easier.
Then, add a small bead of silicone sealant around your lamp housings. Think of it like sealing a treasure chest to keep all the precious bits safe from sneaky water seepage. And don’t forget to check your wiring and connectors regularly; these simple inspections help catch tiny issues early and keep your underwater scene shining bright and worry-free.
Aquarium Lighting Installation Made Simple

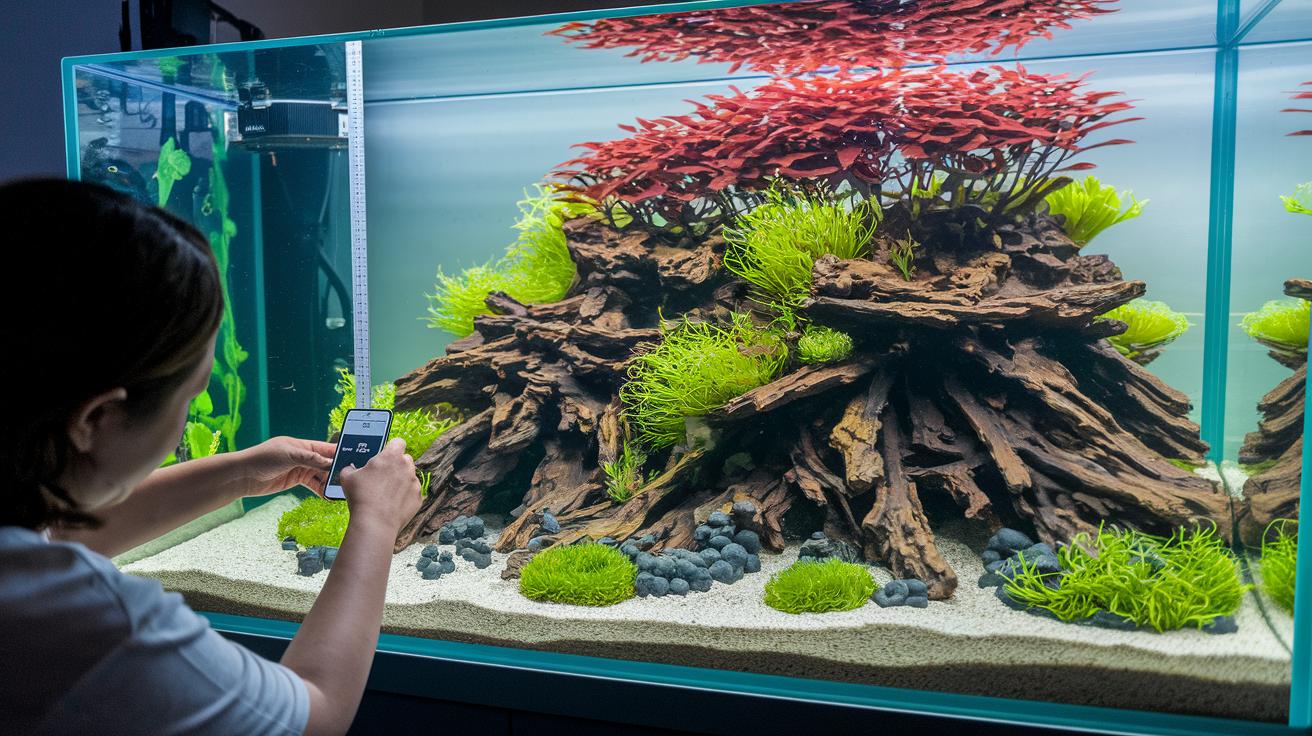
Start by choosing a programmable LED setup that lets you adjust your aquarium’s vibe just the way you like it. Some of these cool lights even work with your phone, offering preset color fades that can change your tank’s mood, imagine a soft blue-green in the morning to gently wake your fish and a warm orange in the evening to relax them. This easy schedule mimics natural light, making your aquatic friends and plants feel right at home.
Next, decide whether to use an RGB light or a full-spectrum light. RGB lets you mix colors for a fun, changing scene, while full-spectrum lights help your plants do their food-making process, kinda like giving them a balanced meal. Tweak the brightness so your plants get the perfect amount of light without overwhelming your fish. A neat trick is to slowly lower the lights during your tank check until the glow becomes even and calming.
You can also link custom LED controllers to your smartphone for quick changes. I once learned that a little tweak in the light’s intensity could boost plant color by nearly 20%. Using diffusers helps spread the light softly across the tank, turning your aquarium into a lively underwater show while keeping it healthy.
Troubleshooting and Maintenance for Your Aquarium Lighting Installation
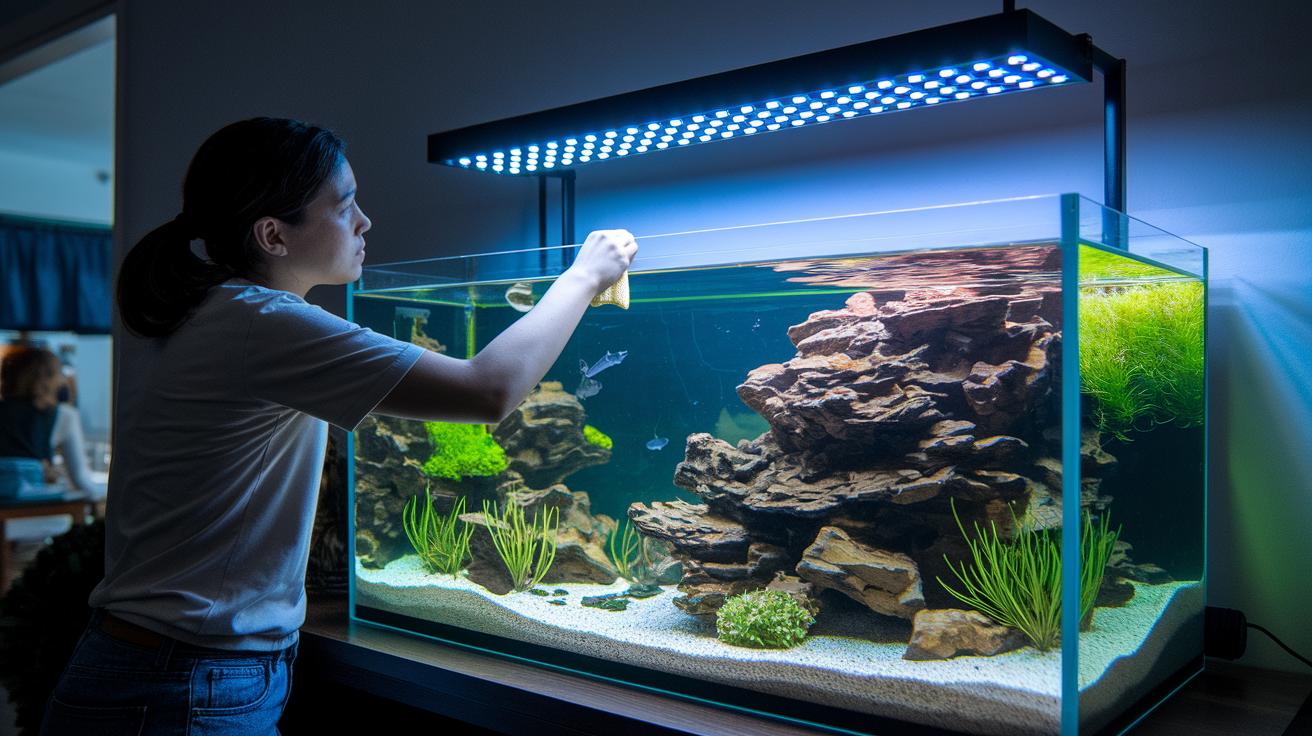
Taking care of your aquarium lighting is like tending to a little piece of underwater art. Start by gently wiping the lens every month, it’s much like cleaning the window to your personal ocean world. If you notice any flickering, take a moment to check for loose connectors or any signs of wear. Even a tiny connection issue can seem like a failing diode, and fixing it quickly can make all the difference.
Sometimes your LED bulbs might lose a bit of their glow over time. It’s a good idea to swap out aging diodes every 12 to 18 months, which helps keep your plants happy and your tank looking its best. Plus, recalibrating the PAR levels, essentially, the measure of light that plants receive, each season is like giving your setup a refreshing tune-up, helping both fish and plants enjoy perfect light conditions.
You might run into a few common issues along the way, such as:
| Issue | Possible Cause |
|---|---|
| Flickering lights | Loose connectors |
| Algae blooms | Too much exposure |
| Outdated firmware | Smart LED unit needs an update |
Keep an eye on these areas by doing routine checks. A small, regular maintenance routine goes a long way in keeping your aquarium lighting working smoothly, so your underwater world remains healthy and visually stunning.
Final Words
In the action of setting up your tank's lighting, the guide walked you through choosing fixtures, mapping out wiring, and mounting lights properly to create a vibrant underwater home. It covered planning strategies, safe electrical practices, and even creative touches for making your display pop in an effortless way.
By following these steps, your aquarium lighting installation becomes a fun project that boosts the look and health of your aquatic world. Enjoy every moment watching your tank come alive!
FAQ
Q: What is the best way to install aquarium lighting (DIY)?
A: The best way to install aquarium lighting involves careful planning and selecting proper fixtures. Following a step-by-step guide that covers measuring, mounting, wiring safety, and testing ensures an efficient setup.
Q: What guidelines should I follow for planted aquarium lighting and plant-friendly LED lights?
A: A planted aquarium lighting guide advises using full-spectrum LEDs that support photosynthesis. Scheduling light cycles to mimic natural daylight helps boost plant growth and maintains a balanced aquatic display.
Q: What is the best time to turn on my aquarium light?
A: The best time to activate your aquarium light is during natural daylight hours. This timing aligns with your aquatic inhabitants’ rhythms and supports plant health by mimicking a natural sunrise.
Q: What effects do blue and white lights have on fish and aquarium ecosystems?
A: Blue light creates a gentle, moonlit atmosphere and enhances visual appeal, while white light offers clarity for viewing. Fish may respond differently, often preferring softer blue hues over bright white.
Q: What does it mean when the aquarium co-op light is discontinued?
A: When the aquarium co-op light is discontinued, it means the product is no longer being produced or sold. Aquarists are now encouraged to explore modern alternatives that offer improved energy efficiency and design.
Q: What color light is best for a fish tank at night?
A: The best color light for a fish tank at night is a soft blue tint. This hue limits glare, mimics moonlight, and creates a calming environment that respects natural nocturnal rhythms.
Q: Where should aquarium lights be placed?
A: Aquarium lights should be placed centrally above the tank or arranged strategically to minimize shadows. This helps provide even illumination, which is essential for healthy plant growth and fish well-being.
Q: Why is aquarium lighting so expensive?
A: Aquarium lighting can be expensive due to high-quality materials, energy efficiency, and advanced features like programmable settings and waterproof construction, all of which ensure durability and optimal performance.
Q: Which is better: T5 or LED aquarium lighting?
A: The choice between T5 and LED lighting typically comes down to energy efficiency and customization. LEDs are more adaptable and long-lasting, while T5 lights often suit simpler, traditional setups.