
Have you ever thought about adding a splash of personality to your fish’s home? Many aquarium lovers believe that a beautiful tank only comes from expensive decorations, but that’s not the only way. Imagine using everyday household items to create a charming underwater retreat that reflects your style. In this post, we share simple, step-by-step tips to help you turn ordinary materials into delightful art that brightens your tank and sparks your creative side.
Step-by-Step DIY Aquarium Decorations: Safe and Affordable Tank Art
Begin by drawing your design on a piece of PVC or a similar material with a marker. Think of it as sketching a secret fish hideaway, each line sets the stage for what’s to come. This simple drawing helps you decide where to carve and where to leave nice openings.
Now, carefully carve your design using a Dremel tool. Keep the speed low so the PVC doesn’t melt into a puddle. When you work on creating entrances, a cutter attachment works best. And if you accidentally poke a hole, why not enlarge it a bit to mimic the natural opening of a log?
Once you're done carving, smooth out all the edges using a sanding bit. This gets rid of any rough spots and washes away the marker lines. Using a finer sanding bit at a higher speed does a great job at cleaning up those stray marks.
After sanding, give your piece a thorough cleaning by brushing off the dust and rinsing it with water. Let it dry completely before you move on to the painting stage.
Pick a paint like Krylon Fusion and apply 3 to 5 thin coats to your decoration. For a cool, textured look, you can even dab on a bit of paint using a paper towel. Once painted, submerge your decoration in water for 2 to 4 weeks, making sure to change the water daily to clear out any lingering odors.
Finally, try out a few different versions to boost both safety and the overall look. You might add little touches like Lego scenes, live-plant accents, floating message bottles, a tiny tea set, river stones, or holiday decorations to spark extra creativity.
Material Selection and Prepping for DIY Aquarium Decorations
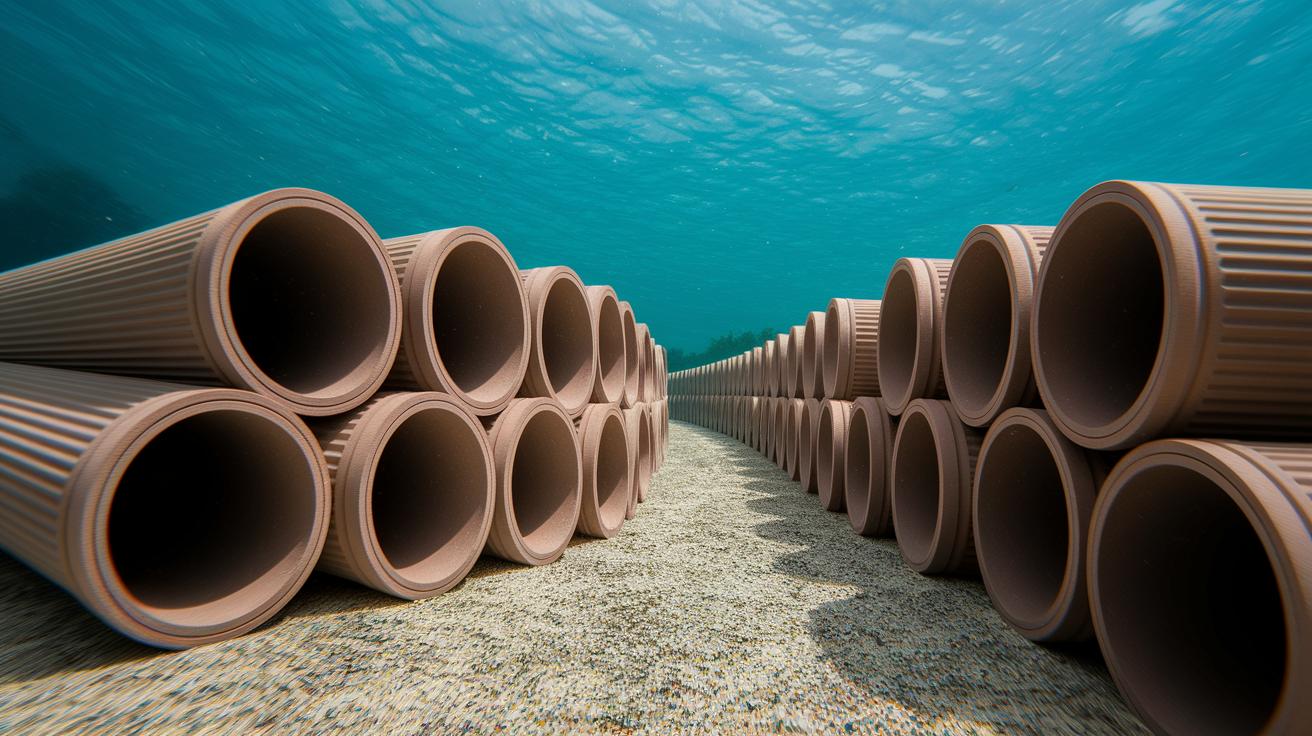
Start by picking materials that are safe and sound for your fish. Thick-walled PVC pipes and connectors work great for making tunnels that hold up well underwater. Think of these pipes like the sturdy beams of a bridge, keeping everything in place as the water flows gently by.
Next, try using unglazed terracotta pots to create natural hideouts in your tank. You can also experiment with hollowed coconut shells that have been boiled to remove tannins, they bring a cool, tropical vibe to your aquarium. And if you’re in the mood for custom shapes, fish-safe epoxy resin is a fun way to craft your own little sculptures.
It's really important to stick with non-toxic items only. Give all your pieces a good wash in hot water. One helpful trick is to soak river stones in bleach for 2-3 days and then rinse them with a dechlorinator, making sure they’re completely safe before adding them to your tank. Steer clear of painted or glazed ceramics unless they’re certified food-safe and lead-free, because hidden risks can be bad news for your finned friends.
When you’re ready to put your design together, use aquarium-safe silicone or another approved sealant. I once used a bit of aquarium-safe silicone to put together a mini cave, and my fish seemed to love having a snug spot to hang out.
If you need to pick up more supplies, check out the aquarium supplies online at this link for non-toxic craft materials and sealants. With a little care and a few simple steps, your DIY decorations will stay strong and inviting for your fish for a long time.
Advanced Methods: Creative Hideaways
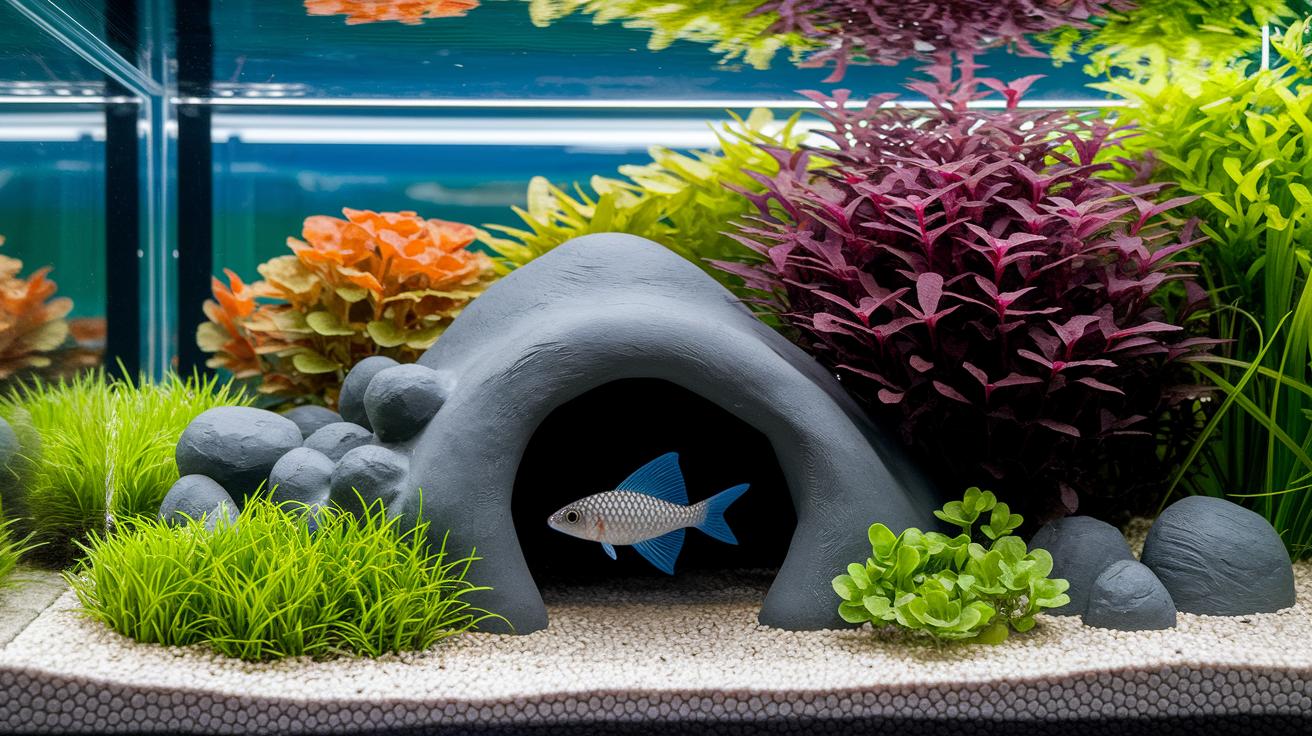
Have you already tried standard PVC tunnels, terracotta caverns, or coconut shell caves? If so, why not try making a rock cave using slate pieces and aquarium-safe silicone? Start by arranging the slate pieces in a natural way, just like you’d see in the wild, and then secure them with the silicone to form a cozy little hideout. Feel free to play around with different shapes, maybe even form an arch that mimics a gentle, rocky crag.
If you’re already comfortable with carving PVC pipes using a Dremel, flipping terracotta pots, or curing coconut shells, this method brings a fresh twist to your aquarium design. Instead of redoing what you already know, let your imagination lead you to a fun, new way to style your tank.
Creating Underwater Flora and Rock Scapes for DIY Aquarium Decorations
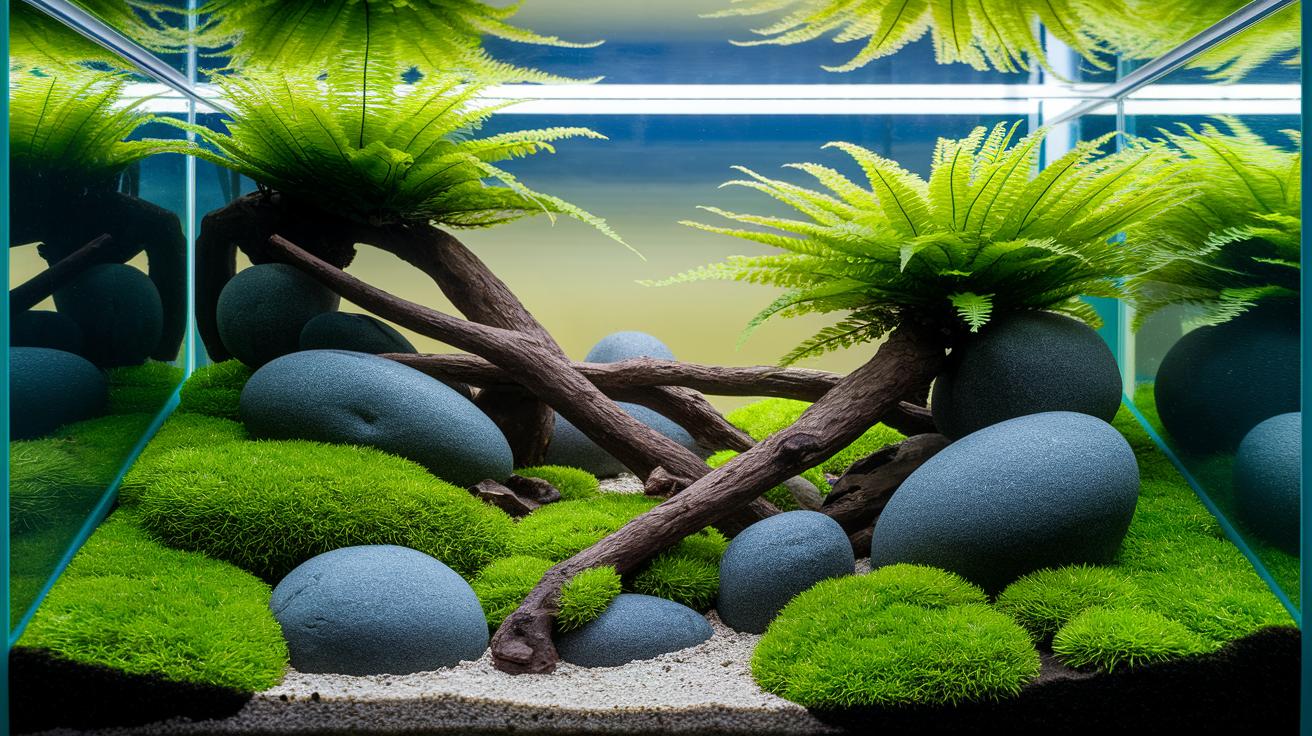
Begin by adding live plants like Java fern and Java moss to your tank. They’re inexpensive and easy to find, and they give your aquarium a natural look while keeping your fish happy and healthy. Picture a cozy aquarium corner where soft patches of Java moss create a fresh, lively vibe.
Then, have fun with artificial plant crafts using fish-safe epoxy or resin. You can mold small faux corals or leaves that mimic the beauty of real flora. This lets you mix in personal, creative touches that flow perfectly with your live plants.
For stone features, pick smooth river rocks that have been carefully bleach-soaked and dechlorinated. This ensures they’re safe for your water habitat. You can also arrange slate pieces with aquarium-safe sealants to form charming rock formations, and add a few epoxy bits to mimic coral branches for that true reef-like feel.
Here's a tip: Imagine placing a resin coral shard among the natural greens, like a burst of color on a gentle underwater canvas. Try these ideas and enjoy the journey of creating your very own mini underwater world!
Painting and Sealing DIY Aquarium Decorations for Longevity
Start by gently sanding away any leftover Sharpie marks using a fine sanding bit at a bit faster speed. It’s like smoothing out a pencil sketch before you draw over it, so your Krylon Fusion paint can stick properly.
Next, add 3 to 5 light layers of Krylon Fusion to build a strong finish that’s safe for your fish. You can even dab the surface with a painted paper towel to mimic the natural look of tree bark.
Once you’ve finished painting, carefully brush off any dust and let your piece air-dry completely. Then, submerge it in water for 2 to 4 weeks, changing the water every day until any unusual smell disappears. This final step washes away harmful residues and secures the paint, making your decoration a safe and beautiful part of your aquatic habitat.
Seasoning and Testing Your DIY Aquarium Decorations
Before adding your finished decoration to your tank, give it a good rinse to wash away any dust or tiny bits of debris. Run your finger gently over the surfaces, feeling for areas where the silicone and paint haven’t fully settled, much like checking if the water in your tank is calm and clear.
During your practice runs, take a close look at important safety details. Compare your work to earlier test pieces and smooth out any sharp edges or loose spots, ensuring every part is sealed tight, just like making sure all the pebbles in your aquarium are snugly in place.
After the final rinse, do one more careful check. Look over your creation for any parts where the paint or silicone might not be sticking well enough, so your underwater retreat stays safe and inviting for your fish friends.
Personalized Themes and Inspiration for DIY Aquarium Decorations
Think of creating special, fish-friendly hideaways that add a fresh and modern twist to your tank. You can make pleco caves using molded clay or polymer clay, which gives the look of natural, smooth rocks. Imagine a pleco cave shaped like a gentle arch where your fish can discover a secret spot that feels just like an underwater alcove.
Betta castles can be reinvented with 3D-printed parts or with recycled aquarium-safe ceramics to give your tank a truly unique architecture. Start with a spark of creativity and picture a betta castle with winding corridors and hidden rooms that make each swim feel like an adventure in a tiny fortress.
Other exciting ideas include:
- Using recycled, aquarium-safe objects to assemble intricate little hideaways.
- Adding textured surfaces to create a look that feels realistic and inspired by nature.
- Trying out creative lighting that makes vibrant live plants and refined man-made details shine together.
| Theme | Innovative Material |
|---|---|
| Pleco Cave | Molded or polymer clay |
| Betta Castle | 3D-printed pieces or aquarium-safe ceramics |
| Intricate Hideaways | Recycled aquarium-safe artifacts |
These fresh ideas build on classic instructions while stirring up new inspiration for designs that feel personal, much like how each fish makes its own little aquatic home.
Final Words
In the action of creating diy aquarium decorations, every step helps build a safe, eye-catching underwater retreat. You learned how to choose fish-friendly materials, craft cozy hideouts, and blend live elements with artful decor. Each section guides you through careful prepping, creative design, and thorough testing to maintain a clear, balanced tank. Keep enjoying the process, experiment with playful themes, and let your aquarium become a genuine work of heart, a lovely home for your aquatic friends.
FAQ
How do I create DIY aquarium decorations using materials like PVC and clay?
The DIY process for aquarium decorations using PVC and clay involves designing shapes, carving entrances safely with a tool, sanding edges to remove sharp parts, and applying non‐toxic paint for a fish‐friendly finish.
How can I craft easy and simple DIY aquarium decorations?
The simple DIY aquarium decoration projects use everyday items with clear, step‐by‐step methods. You can shape, paint, and season each piece while keeping your tank safe and stylish.
How do I ensure my aquarium decorations are safe for my fish?
The safety of aquarium decorations is achieved by cleaning, sanding, and seasoning each item in a separate container with daily water changes until no odor remains, ensuring the decor is fish‐friendly.
How can I craft rock and resin decorations for my tank?
The process for rock and resin decorations starts with non‐toxic materials that are shaped or molded, then carefully sanded and painted with fish‐safe products before a curing period makes them secure for use.
What household items can be repurposed for DIY aquarium ornaments?
The DIY approach allows you to repurpose everyday items like river stones, Lego pieces, or safe tea‐set inserts after confirming they’re non‐toxic. Prepping each item through cleaning and seasoning ensures they’re safe for fish.
What paint options are safe for use in aquariums?
The safe paint for aquarium projects is a non‐toxic option like Krylon Fusion. It is applied in thin layers and the finished piece is cured in water over several weeks to eliminate any residue before use.