
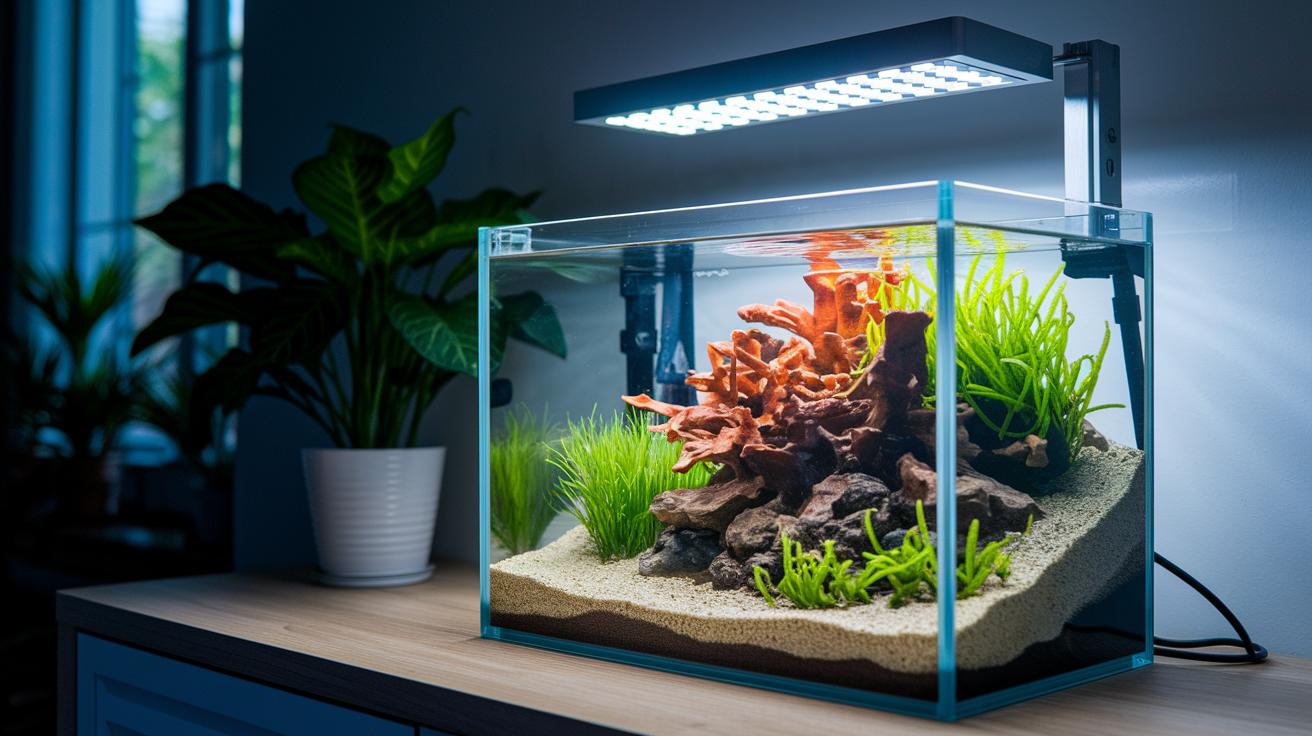
Ever thought about how the way you set up your aquarium light could transform your underwater world? When your light is mounted securely, it not only makes your tank look stunning, but it also gives your fish and plants that gentle glow they need to thrive.
Imagine that light as a soft ripple in water, adding clarity and balance to your aquatic space. Today, I’m excited to share a few easy steps and simple tools to help you mount your light safely. With this setup, your tank will sparkle in a way that feels both inviting and natural.
Let’s dive in and brighten your underwater oasis, your fish might just thank you later!
Essential Steps for Mounting Aquarium Lighting
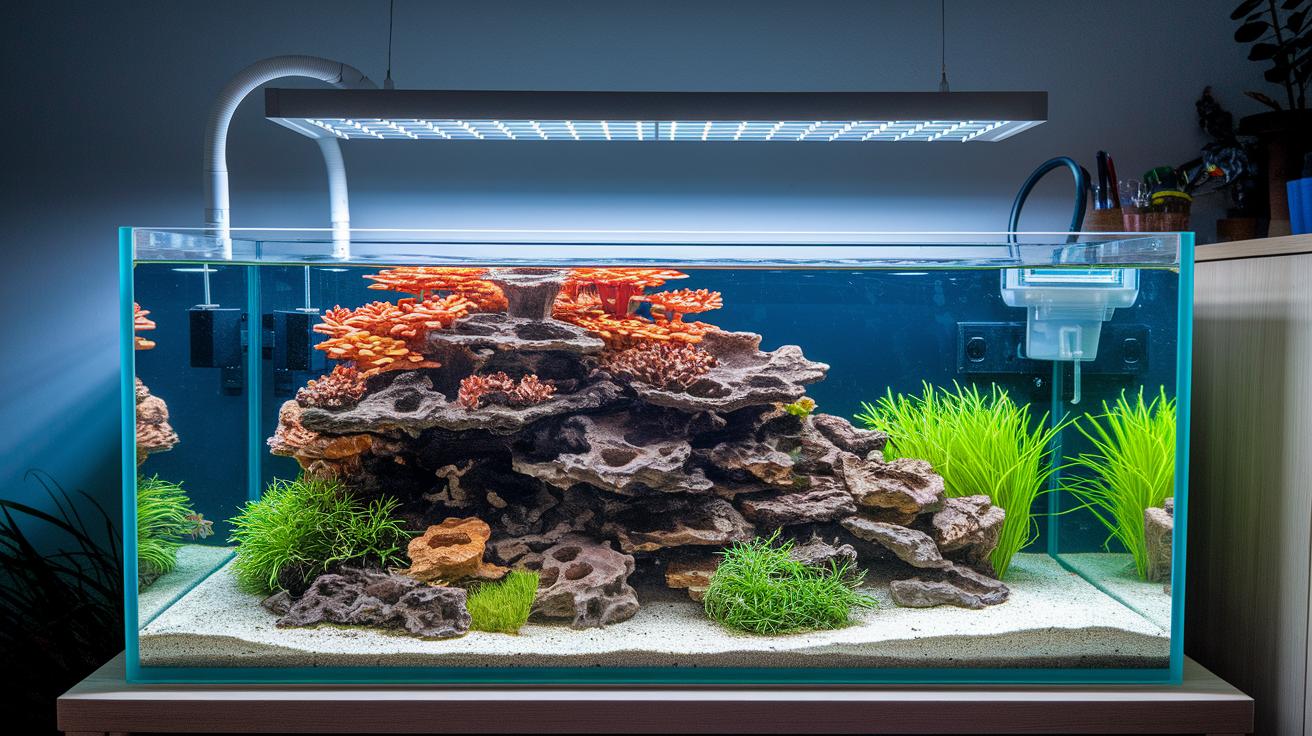
Setting up your aquarium light right not only makes your tank look beautiful but also gives your fish and plants a gentle, even glow they really need. Good lighting is like a soft wave over your underwater world, making things look natural and inviting.
Before you start, be sure to gather these tools:
- A power drill with a masonry bit for tough surfaces
- A level to check that everything is straight
- Corrosion-resistant screws so your setup stays safe even in moist conditions
- Mounting brackets that hold your light firmly
- Anchor plugs to secure the brackets in place
- A PAR meter (a simple tool that measures how much light your plants get)
- A measuring tape to get your distances just right
- Safety goggles to protect your eyes while you work
Here’s how to do it:
- First, measure the area above your tank and mark the spots where you'll mount the light.
- Next, drill small pilot holes and insert wall anchors to prepare for the screws.
- Then, attach your mounting brackets or rails securely.
- Fasten the lighting fixture in place using either screws or clip-on brackets.
- Use the level to make sure your fixture is even and adjust the height based on your tank’s needs.
- Finally, plug in the power, test the lights, and tidy up any stray cables.
Taking the time to follow these steps carefully means your light will work efficiently and safely, without pesky hot spots or wasted energy. Once everything is set up, your tank becomes a balanced, healthy habitat for both plants and fish.
After the installation, run your PAR meter across different spots in the tank. This quick check ensures that every part of your aquarium gets just the right amount of light. Keep your readings handy so you can fine-tune the light height in future setups and always enjoy that perfect underwater glow.
Choosing the Right Aquarium Lighting Mounting Kit
When you're choosing a mounting kit for your aquarium light, there are plenty of options to explore. Each kit is made to work with different setups and personal tastes. Some have a clip-on design that makes it super easy to attach, while others are built for hanging or fixed rail setups. They come with features like being ready for LED and T5 fixtures, letting you set the perfect height, and using materials that won't rust even in wet environments.
| Kit Type | Compatibility | Adjustability | Corrosion Resistance | Installation Effort |
|---|---|---|---|---|
| Clip-on Bracket Kit | LED & T5 | Fixed | Stainless Steel | Low |
| Hanging Suspension Kit | LED | Infinite Height | Anodized Aluminum | Medium |
| Adjustable Rail Mount | LED & Hybrid | Slide & Lock | Powder-Coated Steel | Medium |
| LED Fixture-Specific Kit | Brand-Matched | Preset | Polymer-Coated | Low |
It’s important to match the kit with your aquarium’s size and the kind of glow you want for your tank. Think about how much adjustability you need, what kind of light you’re using, and how easy the installation should be. This way, your light will gently illuminate every corner of your tank, creating a soothing home for your aquatic friends while keeping the setup simple and stress-free.
Determining Optimal Mounting Height for Aquarium Lighting
A recent test in a 24-inch cube using 50 different lights really showed how important the distance between your light and your tank is. When the light sits too close, say under 6 inches, you end up with a bright, focused spot in the center while the edges stay dim. And when it's too high, beyond 24 inches, the light spreads too widely and spills over the edges, which makes most of the tank receive less of the needed brightness. It's a bit like trying to water your garden with a hose held too near or too far away, the balance is what makes the difference for your plants and fish.
The best way to get it just right is to use a PAR meter, which measures the light's strength. Start by taking a reading right in the middle of the tank, then check a few spots along the edges. Adjust the height until you get at least 90% of the center's reading all around. For example, if the middle is at 100, aim for the edges to read close to 90 or more. And don't forget to jot down the settings and readings so you can easily set up your tank again in the future.
Ensuring Secure and Corrosion-Resistant Aquarium Light Mounting
Saltwater can be rough on metal parts, much like strong ocean currents test a rock. Using marine-grade stainless steel brackets and anodized aluminum parts keeps your setup safe, stopping salt from slowly eating away at your light mount. These strong materials help your lights stay firm and shine bright for a long time.
Choosing the right hardware is just as important. Try 316 stainless screws and nylon wall anchors to hold everything in place. These picks stand up well to rust and everyday wear, even when things get damp, giving you extra peace of mind.
Before you start, always cut the power to avoid any shock. And don’t forget your safety glasses when you’re drilling or handling parts. Check that your mounts can handle the weight of your fixture, just like testing if a little fish can swim with the larger ones. These steps keep you safe and make sure your installation lasts.
It’s a good idea to check your hardware every six months. A quick look can help you spot loose screws or early signs of corrosion, keeping your aquarium lights secure and your underwater world peaceful.
Troubleshooting Common Aquarium Lighting Mounting Issues
Sometimes your aquarium lights can start to shift, causing patches of dim light and a little shaking. It helps to use a PAR meter, this tool measures light levels, to spot dark areas. For example, try placing the sensor two inches from the light and note the readings. And don’t be surprised if the vibration comes from a water pump or changes in water flow that make the mounting less secure.
When issues persist, switch to screws and brackets that won’t rust easily, protecting against metal wear. A torque screwdriver can be really handy here, ensuring every screw is tightened just right. Fun fact: a torque test might reveal a loose connection even if everything looks fine to the eye. Rubber washers can work wonders for reducing vibrations; if you’ve been using standard washers, consider moving to ones made especially for aquatic setups.
Only replace your brackets after repeated tests show metal wear or ongoing misalignment, even when you’ve already updated your hardware.
Advanced DIY and Modular Mounting Solutions for Aquarium Lighting
If you're ready to give your aquarium lighting a personal touch, consider diving into DIY and modular projects. These creative options let you adjust spacing and angles like arranging smooth pebbles at the bottom of your favorite pond. Imagine building your setup with simple materials such as PVC, aluminum, or even 3D-printed clamps that snap into place like little fish finding their school.
DIY Bracket Construction
Why not build your own mounting brackets using easily available PVC or aluminum profiles? Pair these with clamps and threaded rods to craft a sturdy, adjustable fixture that fits your aquarium just right. It’s like designing a custom puzzle piece that slots perfectly with your light, making your tank as unique as the gentle ripple across a sunlit stream.
Modular Kit Upgrades
For a quicker option, check out commercial modular systems like the iquatics mounting system. These kits come with universal adapter mounts and sliding rails, which let you easily reposition lights or add new ones down the line. Experiment with different setups until the light dances over your tank just the way you want it, creating a vibrant underwater scene that feels both dynamic and perfectly balanced.
Final Words
In the action of setting up your tank, you learned how each step, measuring, marking, testing, and securing, brings clarity and balance to your underwater scene. Proper mounting height not only creates even light but also supports the growth of vibrant aquatic life.
Using a careful process and the right mounting aquarium lighting techniques, you can achieve a comfortable and safe aquatic space. Enjoy the satisfaction of a well-lit, healthy environment that truly enhances the beauty of your aquarium.