
Ever wonder if the bottom of your tank is trying to tell you something about its health? The sand and gravel, what we call substrate, act like the solid foundation of a warm underwater home where your fish feel safe and comfortable.
In this friendly guide, we're here to walk you through a simple, step-by-step process. We'll start with checking your water quality (that means making sure the water is clean and safe) and move on to gently vacuuming the sand, much like raking the soft ripples on your favorite beach.
Stick with us, and you'll soon be refreshing your tank in a way that keeps your aquatic buddies happy and thriving. Enjoy watching your aquarium shine, just like the glimmer of light dancing over the water.
Complete Step-by-Step Guide to Aquarium Substrate Maintenance
Step 1: Testing Water Parameters
Start by using a test kit to see if your water reads 0 ppm ammonia, 0 ppm nitrites, and under 40 ppm nitrates. This quick check-up makes sure your little underwater world is healthy before you begin cleaning. It’s a bit like checking your own pulse before a jog.
Step 2: Algae Removal from Walls
Gently scrape the tank walls with a soft, non-abrasive tool. This careful clean-up helps remove algae without hurting the substrate where your tank’s helpful bacteria live. Think of it as tidying up your favorite rocky shoreline without disturbing the tiny creatures beneath.
Step 3: Pruning and Plant Maintenance
Remove any dead leaves and trim overgrown plants to boost light and oxygen flow. This step is a bit like giving your garden a friendly trim so that new life can flourish. If you’re new to aquarium plants, you can find tips in guides for beginners, it’s all about making space for growth.
Step 4: Equipment Shutdown
Before you dive into cleaning, turn off heaters, filters, and pumps. This not only protects your gear from damage but also keeps your fish cozy and safe during the process. It’s like pausing a busy day to enjoy a quiet, calm moment.
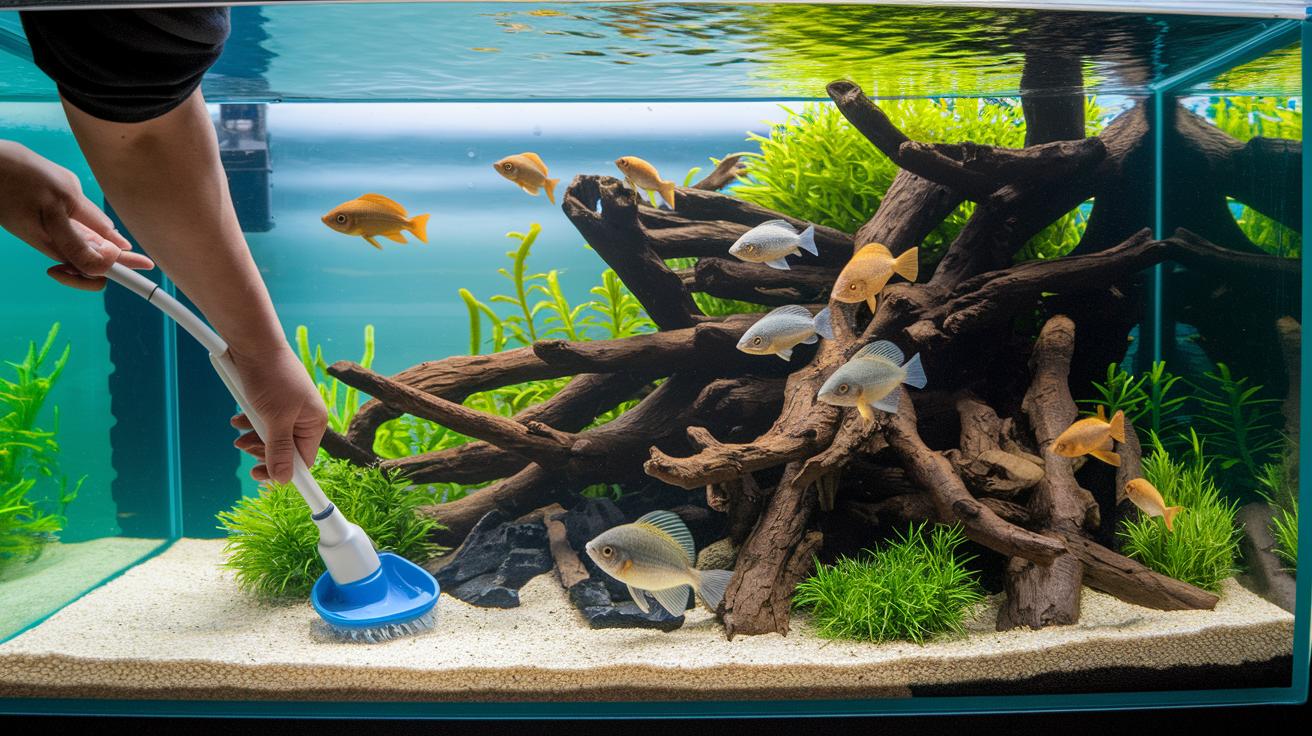
Step 5: Substrate Vacuuming
Take an aquarium siphon and gently vacuum about one-third of the substrate. Use light, vertical strokes to clear away fish waste, leftover food, and bits of dead plant matter while leaving the vital bacteria colony intact. Picture stirring the soft sand on a quiet beach to clear away debris without disturbing the life it supports.
Step 6: Filter Media Cleaning
Once a month, give the filter media a gentle rinse in some old tank water. This keeps the beneficial bacteria happy and working in your tank, much like a gentle rain that refreshes a lively stream.
Step 7: Tank Refill and Additives
Slowly refill your aquarium with water that’s the same temperature as your tank. At this point, you can add a water conditioner, liquid fertilizer, or root tabs to help your plants and aquatic life thrive. It’s like adding the perfect ingredients to a recipe for a healthy, vibrant ecosystem.
Step 8: Restarting Equipment
After refilling, switch your equipment back on and let everything settle for about an hour. This waiting period gives the filter time to clear away any suspended particles, much like watching the gentle ripple of water smooth out after tossing a stone.
Step 9: Final Touches
Finish up by wiping down the exterior glass and cleaning any tank accessories with an aquarium-safe cleaner. This final polish leaves your aquarium looking as clear and inviting as a sunlit pond.
Essential Tools and Supplies for Effective Substrate Maintenance

Begin by gathering your essential tools. You need a sturdy bucket or container, an aquarium gravel vacuum or siphon, and an algae scraper. These items keep your substrate clean and your aquarium healthy. Think of the bucket as a safe spot to hold water while you work, much like a safety net during a quick check-up.
Next, grab a pair of plant pruning scissors to snip away dead leaves and trim overgrown areas. This tool helps keep your plants arranged just right. You’ll also want a water conditioner and dechlorinator for fresh water, plus liquid fertilizer or root tabs if you have a planted tank. These help your plants grow strong and happy.
Finally, consider extra accessories to fine-tune your setup. Extra tubing, various nozzle sizes, and spare gravel valve attachments can really simplify your cleaning routine. For those watching their budget, you can even use airline tubing with a gravel valve for siphon control. It’s like putting together a custom toolkit that works well without breaking the bank.
Preparing for Aquarium Substrate Cleaning: Safety and Inspection Procedures
Before you clean your tank, take a moment to test your water with a trusted kit. This check helps you make sure the water levels of ammonia, nitrite, and nitrate are safe for your fish. If anything seems off, add a water conditioner right away instead of waiting.
Keep your fish in the tank throughout the cleaning. Their steady presence keeps the water volume just right and helps reduce stress, much like the comforting ripple of water on a calm day.
Next, examine your substrate closely. Look for any debris, sharp items, or packed spots that could cause trouble during cleaning. Give it a gentle once-over and take note of areas that appear extra dirty or clumped up.
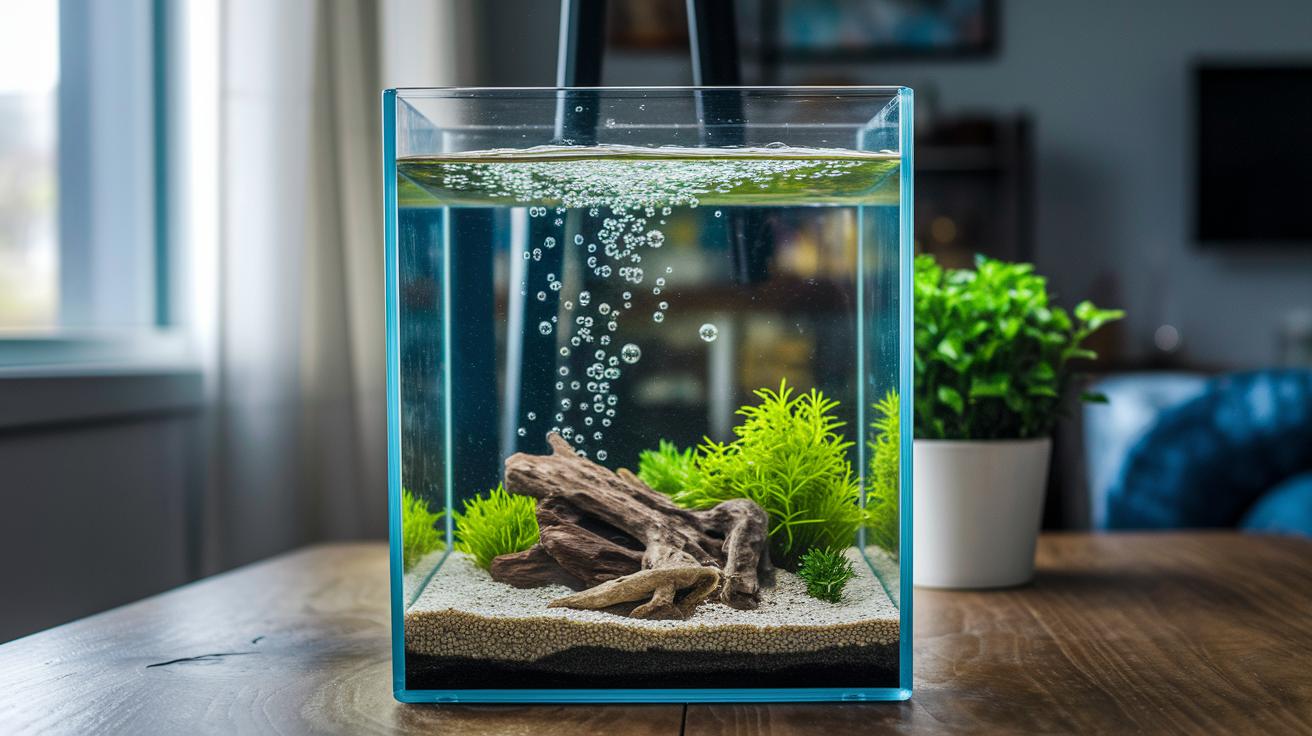
Also, watch for tiny gas bubbles on the substrate surface. These little bubbles might mean there are pockets where oxygen is low. If you see them, plan to gently stir the area so the gases can escape.
Try to do a partial clean every 2 to 4 weeks, and plan for a full maintenance session every 4 to 6 weeks. Regular checks like these help keep your aquarium water clear and your fish happy, setting you up for a smooth cleaning process.
Advanced Vacuuming Tips (Step 5)
Step 5 is all about your everyday vacuum routine. For an even cleaner tank bed, here are some simple tips to try:
- Try setting your siphon tip at a 45° angle above the substrate. Use soft, light vertical strokes, imagine gently brushing sand on a quiet beach.
- Use the suction control valves to adjust the power, like turning down a shower nozzle so you avoid a powerful water blast.
- Only clean about one-third of the substrate at a time. This way, you leave the helpful bacteria undisturbed and protect those delicate plant roots and little fish.
- Work slowly, section by section. You'll remove debris, fish waste, and leftover food without stirring everything up. Think of it as using a pencil to erase only a tiny smudge on a drawing, leaving the rest of your artwork intact.
Water Change and Filter Maintenance within the Substrate Cleaning Process
• Step 4 – Power Down Equipment
- Before you get started, turn off your tank’s heaters, filters, and pumps.
- This simple step helps protect your gear and keeps your fish safe while you work.
• Step 6 – Water Removal and Filter Media Cleaning
- Siphon out about 20–30% of your tank water.
- Use the water you removed to rinse your filter media. Swirling the media in your own tank water helps preserve the good bacteria that make your aquarium healthy, tap water could upset them.
- Think of it as giving your filter a gentle, natural refresh.
• Step 7 – Filter Cartridge Maintenance and Water Refill
- Clean or replace your filter cartridges each month.
- Once again, rinse the media with the saved tank water instead of tap water.
- Then, refill your aquarium with dechlorinated water that is the same temperature as your tank. Add water conditioner and, if you have live plants, some root tabs or liquid fertilizer.
- Keep a record of the water volumes during each change to help maintain balanced water chemistry.
Troubleshooting Common Problems in Aquarium Substrate Maintenance
Sometimes after a cleaning session, your tank might still look a bit cloudy. This usually happens because tiny particles are still floating around. Give the water about an hour to settle so the filter can catch these little bits.
You may also notice small bubbles coming up from the substrate. These bubbles show that deeper layers aren’t getting much oxygen. A gentle stir and a careful vacuum in those spots can help let the trapped gases escape.
- Cloudy water after cleaning: Wait roughly one hour so the fine particles can settle or be naturally caught by the filter.
- Anaerobic gas pockets: Gently stir the substrate and use a light vacuum motion to help release the bubbles.
- Plant root disturbance: Avoid strong suction near plant roots, as this can disrupt the balance of your aquascape.
- Gravel compaction: Occasionally agitate the deeper layers to keep them loose and ensure oxygen reaches all areas.
- Algae regrowth: Keep an eye on your tank’s light and nutrient balance. If algae appears, gently scrape it off.
- Tool wear: Regularly inspect your vacuum tips and replace them if they show signs of wear to prevent scratching the substrate.
With a patient and balanced approach, you’ll keep your substrate healthy and your aquascape looking beautiful. It’s all about taking your time and making sure every part of your tank gets a little extra care.
Final Words
In the action, we broke down the essential steps, from testing water and safely shutting down equipment to gentle vacuuming and filter care. We also looked at plant pruning tips and troubleshooting for clear, healthy water. Each step creates a smoother process to maintain your tank's beauty.
Following this step-by-step guide to aquarium substrate maintenance can keep your environment balanced and your aquatic friends thriving. Enjoy the calming flow of a well-kept tank and the satisfaction of a job done right.
FAQ
How to properly clean aquarium substrate?
The process for properly cleaning aquarium substrate starts with partial vacuuming using a siphon to remove waste and algae while gently cleaning about one-third of it to maintain healthy bacteria.
What is the golden rule for tank maintenance?
The golden rule for tank maintenance is to keep a balanced environment by cleaning only part of the substrate and changing water in measured portions so beneficial bacteria are preserved.
How often should aquarium substrate be changed?
The substrate should not be completely replaced; instead, perform a partial vacuum every two to four weeks and a deeper cleaning every four to six weeks to support a healthy aquatic setup.
How do you prepare substrate for aquarium?
Preparing the substrate involves rinsing it to remove debris and inspecting for compacted spots before gently adding it to the tank, ensuring a stable habitat for your fish.