
Ever wondered if your aquarium chiller is really keeping your tank cozy? Choosing the right chiller isn’t just about cooling water, it’s like setting up a comfy home for your little underwater buddies.
In this guide, we’ll chat about simple things like your tank’s size, the drop in temperature, and how much energy your chiller uses. Picture it like arranging smooth stones on the pond floor to keep everything balanced.
The soft hum of the chiller helps prevent coral stress and keeps pesky bacteria at bay, all while keeping your energy use low. Imagine the gentle ripple of water on a calm day, and let’s work together to make your aquatic world the perfect retreat.
Key factors for choosing an efficient aquarium chiller
A good chiller keeps the water cool by pumping it through a heat-exchange unit that takes away extra heat. Reef tanks thrive around 75-78°F, while saltwater tanks do best between 75-82°F. Keeping a steady temperature helps avoid coral stress, algae outbreaks, and pesky bacterial blooms. Cool, right?
Consider this checklist when picking your chiller:
- Tank volume: Bigger tanks need chillers with more power, while smaller tanks call for a different energy setup.
- Target temperature drop: Figure out how many degrees you want to lower the water using a BTU formula. For example, cooling a 40-gallon tank by 5°F needs a specific capacity.
- Cooling method and efficiency: Look at different designs, like inline models that actively cool water or other options that might have different setups and levels of efficiency.
- Ambient conditions: Keep in mind that the room’s temperature matters. If the air rises above 75°F, the chiller might not work as well.
- Energy draw and noise levels: Try to pick a model that uses little power and runs quietly, perfect for keeping your aquatic buddies comfortable.
- Budget: Weigh the initial cost against the energy bills over time. Sometimes a more affordable option works well for tanks that aren’t very picky about temperature.
Each of these points helps you match your tank's needs with the right chiller, ensuring your water stays perfectly comfortable for your underwater pals.
Understanding aquarium chiller types for efficient cooling

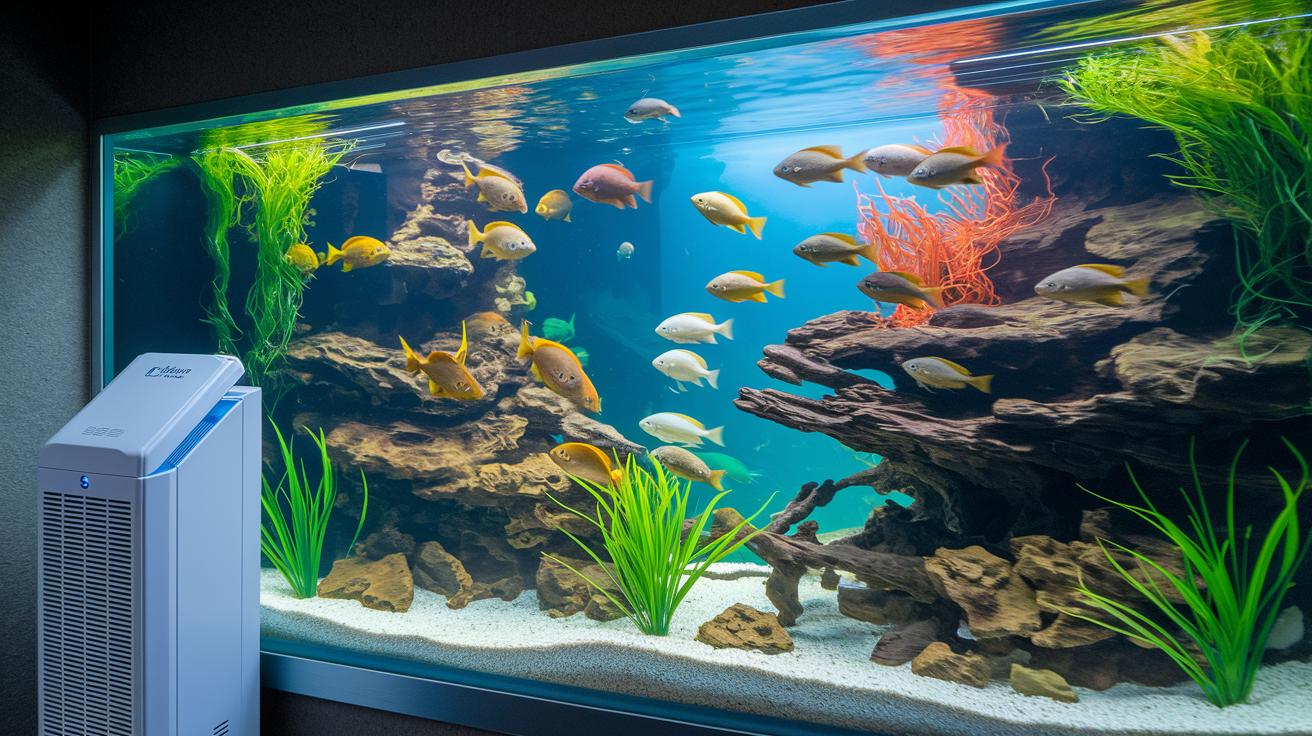
When you're picking a chiller for your aquarium, you'll find there are three main types. Inline chillers, for instance, actively cool the water before sending it back into your display tank. They work great for larger setups that need a steady, cool flow. Keep in mind, though, that this method might mean a bit more plumbing work.
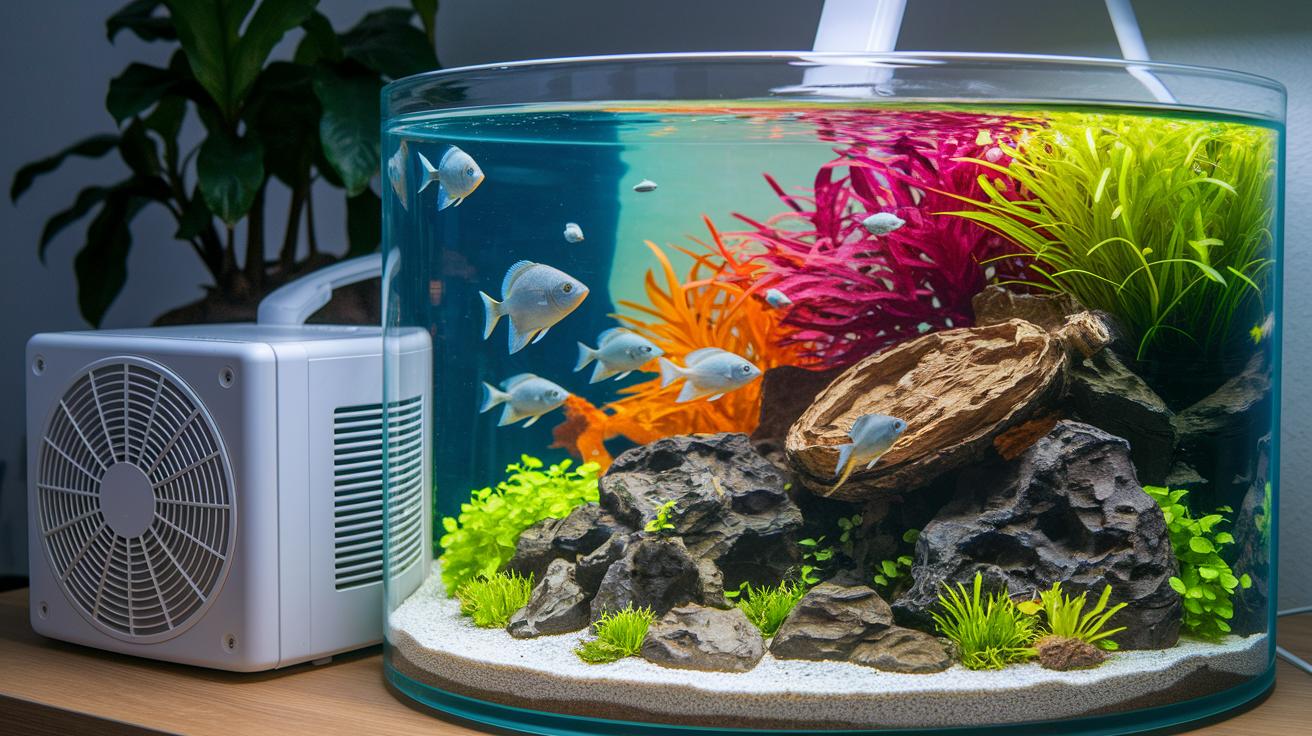
Ice probe chillers are a neat fit for smaller tanks. They work by placing a cooling probe right into the sump, giving your tank a refreshing, gentle boost, kind of like feeling a cool breeze on a hot summer day. These chillers offer a moderate cooling power but might require a small tweak to your sump setup.
Submersible coil chillers go straight into the sump without any extra plumbing hassles. They keep things simple and take up very little space, though you might notice they aren't as efficient. So if your aquarium needs very precise temperature control, you might lean towards an inline or ice probe chiller instead.
When choosing a chiller, think about a few key details:
| What to Consider | Why It Matters |
|---|---|
| Installation | Decide if your space can handle extra plumbing or if a simple sump setup is best. |
| Cooling Capacity | Make sure the chiller can lower your tank’s temperature enough for your needs. |
| Reliability | Look at long-term performance and ease of maintenance for steady cooling. |
At the end of the day, the perfect chiller should match your aquarium’s needs. Balancing performance with a straightforward setup and a small footprint can make your aquatic haven feel just right. Enjoy the process of fine-tuning your space, and remember, a little cool comfort goes a long way in keeping your fish happy.
Sizing calculations and cooling capacity evaluation
When picking a chiller, getting the math right is a must, like mixing your favorite batch of sea glass treasures. You calculate the cooling power needed with a simple formula: take your tank’s volume in gallons, multiply it by 8.5 (that’s the weight of one gallon of saltwater), then multiply by how many degrees Fahrenheit you want to drop, and finally, divide by 12. For example, if your tank holds 40 gallons and you want it 5°F cooler, the math is (40 × 8.5 × 5) ÷ 12, which comes out to about 142 BTU/hr. That means your chiller needs to work with roughly 142 BTU/hr of cooling power.
Next, think about the room temperature. When your space heats up past 75°F, the chiller’s efficiency starts to dip. And if it goes above 78°F, the cooling might not work at all. Matching your water pump’s flow rate to what the manufacturer recommends is just as important. It’s like stirring a hot cup of cocoa, you need the right mix to cool it evenly and keep everything balanced.
Here’s a quick checklist for your calculations:
| Step | Description |
|---|---|
| 1 | Find your tank’s volume in gallons |
| 2 | Multiply by 8.5 (the weight of one gallon of saltwater) |
| 3 | Multiply by your desired temperature drop in °F |
| 4 | Divide by 12 to get the required BTU/hr |
Did you know that calculating your aquarium chiller’s BTU/hr is like following a secret recipe? Every precise measurement transforms your setup into a serene underwater haven instead of a water heating mishap.
Energy efficiency and noise reduction in aquarium chillers
Picking the right chiller for your aquarium is like finding a cozy home for your fish. You want a model that cools your tank efficiently without chugging too much energy or making too much noise. When you see a chiller with a smart compressor and refrigerant combo, you know it’s built to work hard but gently.
A lower watts-per-BTU/hr rating means the system is a true energy saver. Think of it as a chiller that sips just a few kWh each month, unlike other models that drink up electricity like there's no tomorrow. Cool, right?
Also, consider insulation and noise control features. Many chillers come with vibration-damping mounts and sound-insulated cabinets, so you get the soothing murmurs of water instead of distracting fan sounds. Imagine enjoying the peaceful ripple of your tank without any extra clatter.
Modern chillers often include digital temperature controllers, too. These clever gadgets only run the compressor when needed, cutting down on energy waste and unnecessary fan noise. It's like having a smart switch that keeps everything calm and efficient.
Here are some practical points to check when choosing your chiller:
- Compressor and refrigerant type: Opt for options that use energy sparingly.
- Energy-rating metrics: Look for a low watt-per-BTU/hr ratio.
- Fan design: Choose low RPM fans with vibration-damping features.
- Control features: Digital temperature controllers can really trim down run time.
Getting these details right helps keep your underwater friends comfortable while also keeping your power bill in check.
Installation best practices for reliable chiller operation
Place your chiller close to your tank, with about 6-12 inches of space so it can breathe easily. This little gap makes sure the heat leaves nicely and stops it from overheating.
When using inline chillers, follow the plumbing instructions carefully. Make sure all hoses and connectors are secure to prevent any leaks and to keep the water flowing smoothly.
For probe chillers, design a sump cut-out that fits the unit just right. Match your water pump’s flow rate to what the manufacturer recommends so that enough water passes through for steady cooling. Also, setting the temperature controller’s deadband correctly helps stop the compressor from turning on and off too quickly, which can wear it out early.
Keep an eye on your setup to spot any leaks or loose connections. And watch the room temperature around your chiller, because if it climbs above 78°F, the chiller might not perform as well.
Here's a quick reminder:
- Maintain the proper clearance for ventilation.
- Secure all plumbing for inline systems.
- Build a sump cut-out that fits your probe chiller perfectly.
- Check that the pump flow and controller settings are just right.
Regular upkeep and careful installation go hand in hand to keep your aquarium cool and your aquatic life happy.
Maintenance and troubleshooting for long-lasting chillers
Taking good care of your chiller is a lot like tending to a beautiful underwater garden. When you clean the condenser coils every 6 weeks, check the refrigerant lines for any wear or leaks, and inspect the pump and plumbing for clogs, you help keep your aquarium water as clear as a mountain stream. It’s also smart to keep an eye on your display readings, which can feel like little ripples signaling changes in water temperature.
Here are a few simple steps to help your chiller live a long, happy life:
- Clean the condenser coils every 6 weeks to brush away any debris.
- Look over the refrigerant lines to catch any signs of wear or tiny leaks.
- Check the pump and plumbing to ensure water flows smoothly.
- Watch the display readings, so you catch any sudden temperature changes.
Sometimes, you might notice a low-flow alarm, frost forming on the coil, or the compressor acting a bit jumpy. When that low-flow alarm rings, take a moment to check the water pump and tubing for any blockages. A light frost on the coil may mean it needs a gentle cleaning or a look at the refrigerant level. And if the compressor starts short-cycling, it could be an electrical hiccup or a glitch with the controller.
Setting up a service check every 6 to 12 months can keep you ahead of any issues by taking a deeper look at the compressor and refrigerant levels. With these easy routine tasks and troubleshooting tips, your chiller will keep things running smoothly, and your aquarium will stay as calm and cool as a quiet pond.
Cost-effectiveness analysis and budget-friendly chiller options
When you’re picking a chiller, it’s a bit like choosing the perfect decorative stone for your aquarium. You want to weigh the initial cost, how much power it uses, and the savings you’ll see over time. Budget-friendly chillers can often be found for under $500, while the professional ones may run above $1,200. And many models come with an average monthly energy cost of roughly $0.13 per kWh.
I once heard from a fellow aquarist, "When I switched to an entry-level chiller, my power bill dropped noticeably without sacrificing temperature control." It’s a neat reminder that sometimes a simpler choice can still keep your water as comfortable as a calm tide.
Next, think about the payback period, a typical chiller starts making up for its cost in about 18 to 24 months. It’s a bit like waiting for your favorite fish to grow; you know your investment will start giving back once it’s settled in. Also, keep an eye on the environmental side of things. Units with eco-friendly R290 refrigerant give you a greener cooling choice compared to older HFC options. And don’t forget about warranty lengths, which usually run from 1 to 3 years, good support is like having a trusty net to catch any unexpected splashes.
Key points to remember:
- Upfront cost vs long-term energy use
- Payback period of 18-24 months
- Greener refrigerant options like R290
- Warranty and service terms for added security
This analysis helps you pick a chiller that keeps your aquarium water at just the right temperature while fitting nicely within your budget, making each day feel as peaceful as a gentle ripple through clear water.
Final Words
In the action, we explored every critical aspect of selecting an efficient aquarium chiller. We broke down the importance of matching chiller performance with tank size, setting reliable water temperature control, and ensuring energy-efficient, quiet operation. We also touched on different chiller types, proper sizing calculations, smart installation tips, regular maintenance, and budget-friendly options. These tips for choosing an efficient aquarium chiller give you a clear checklist to create a visually appealing, comfortable, and healthy underwater habitat. Happy fish keeping!
FAQ
How do I set up a DIY aquarium chiller?
The DIY aquarium chiller setup means building your own cooling system with accessible parts. It involves matching flow rates and insulation techniques to manage your tank’s temperature effectively based on its size.
What is the best aquarium chiller?
The best aquarium chiller means finding a unit that fits your tank’s volume, energy efficiency, and noise level needs. It should provide steady cooling performance while maintaining optimal water conditions.
How do I size an aquarium chiller?
Sizing an aquarium chiller means calculating the required BTU/hr based on your tank volume and target temperature drop. Consider ambient conditions and pump flow rate to ensure effective heat transfer and temperature control.
What should I know about a 20-gallon aquarium chiller?
A 20-gallon aquarium chiller means selecting a unit with moderate cooling capacity that fits smaller tanks. It must meet the BTU/hr requirements needed for a safe, comfortable temperature drop in a compact setup.
How can an aquarium chiller for axolotls benefit my tank?
An aquarium chiller for axolotls means maintaining a stable, cooler temperature ideal for these sensitive creatures. It delivers precise control to ensure water conditions remain just right for axolotl health and comfort.
What considerations are needed for a 40-gallon aquarium chiller?
A 40-gallon aquarium chiller means opting for a unit with sufficient capacity to handle a larger volume. It should effectively manage desired temperature drops while matching flow rates and ensuring energy efficiency.
What defines a small aquarium chiller?
A small aquarium chiller means a compact cooling unit designed for limited setups. Often available as inline or submersible types, these chillers focus on efficiency and low noise to suit smaller tanks.
How do I choose an aquarium or water chiller?
Choosing an aquarium chiller means evaluating your tank’s volume, desired temperature drop, and ambient conditions. Look for energy-efficient models with proper cooling capacity that are easy to install and maintain for your specific setup.
What size chiller does a 120-gallon tank require?
What size chiller for a 120-gallon tank means calculating the cooling capacity using a BTU/hr formula. For larger systems, a more robust unit is needed to handle volume and maintain stable, safe water temperatures.
Are aquarium chillers worth it?
Aquarium chillers worth it means they offer reliable temperature control, preventing issues like algae blooms and oxygen loss. A well-chosen chiller improves overall tank health and helps maintain energy-efficient, cost-effective operation.